
DIY Fall Wreath
Fall is here! Aside from the pumpkin lattes and the oversized sweaters, wreaths are making a come-back this season! If you’re like the rest of the world and love to decorate for the cozy months, our wreath kits are perfect for you! You can pre-order here and pickup October 1st or 8th and make your own wreath in the comfort of your home.
Follow our simple step-by-step pictorial to learn how to use some our favourite fall foliage and dried elements to make a textural wreath.
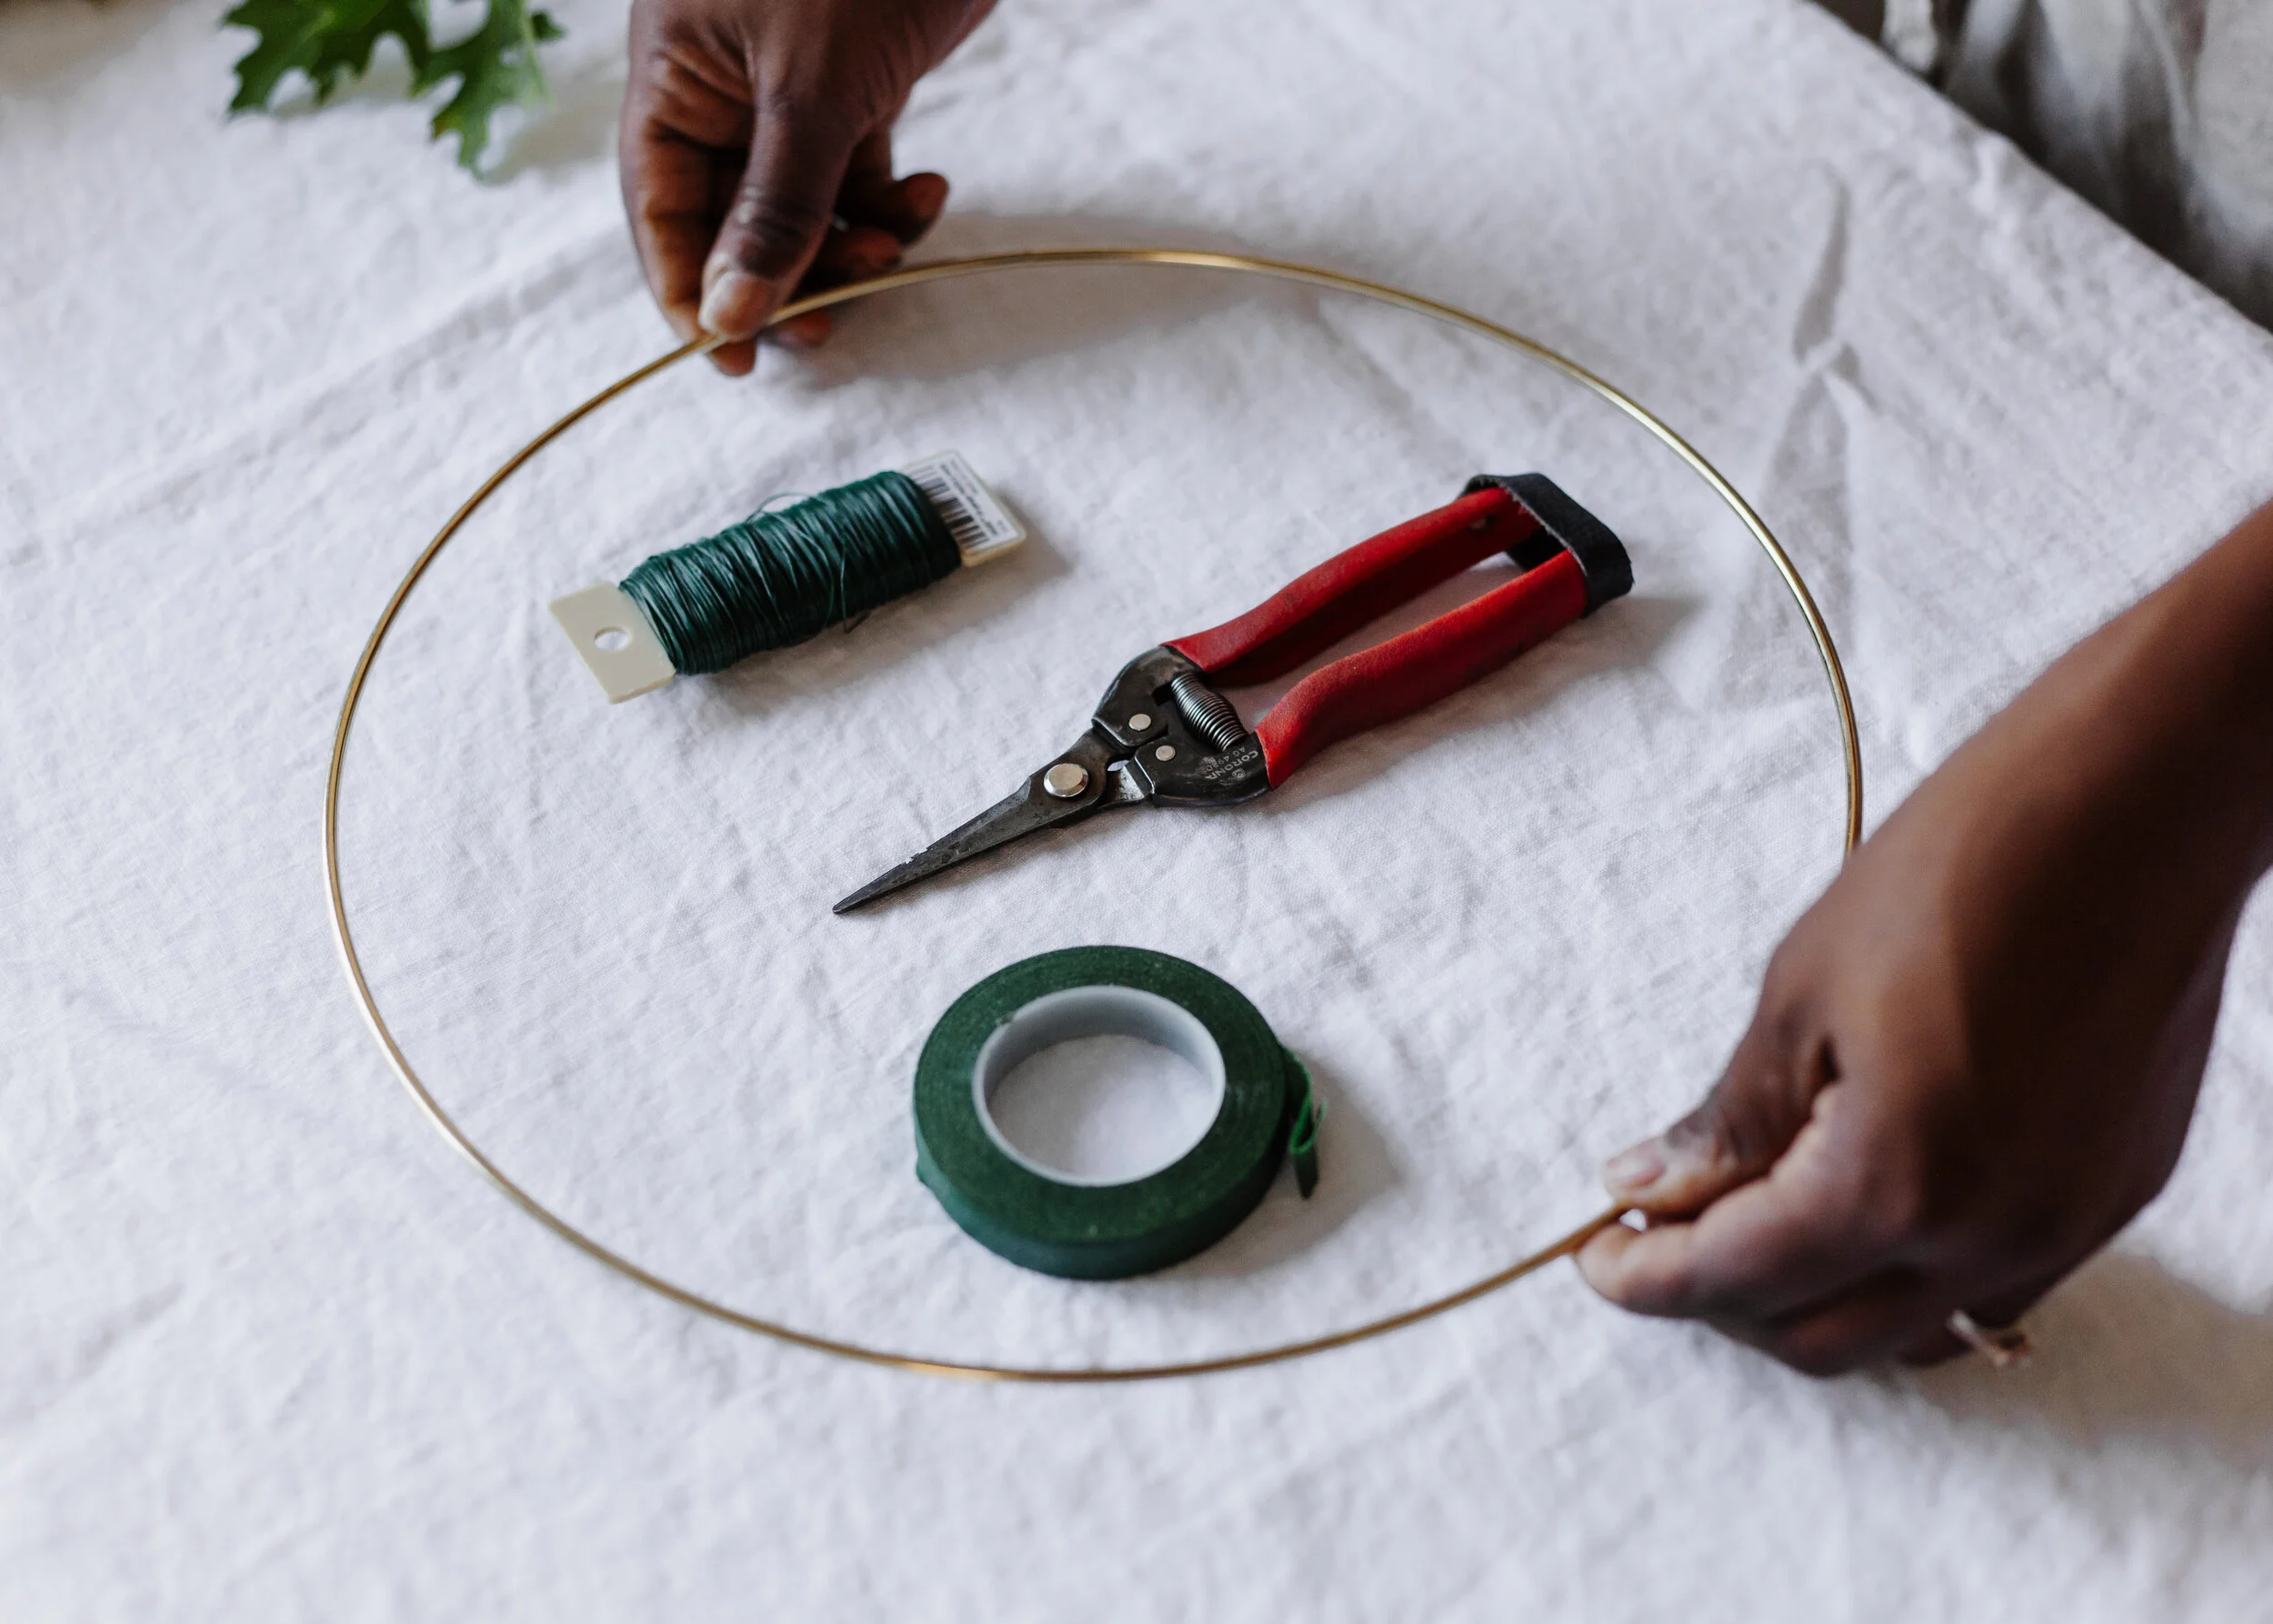
If you have purchased our wreath kit, it will include a 14in brass ring, floral tape and floral wire. You will need a good pair of floral clippers or garden shears.
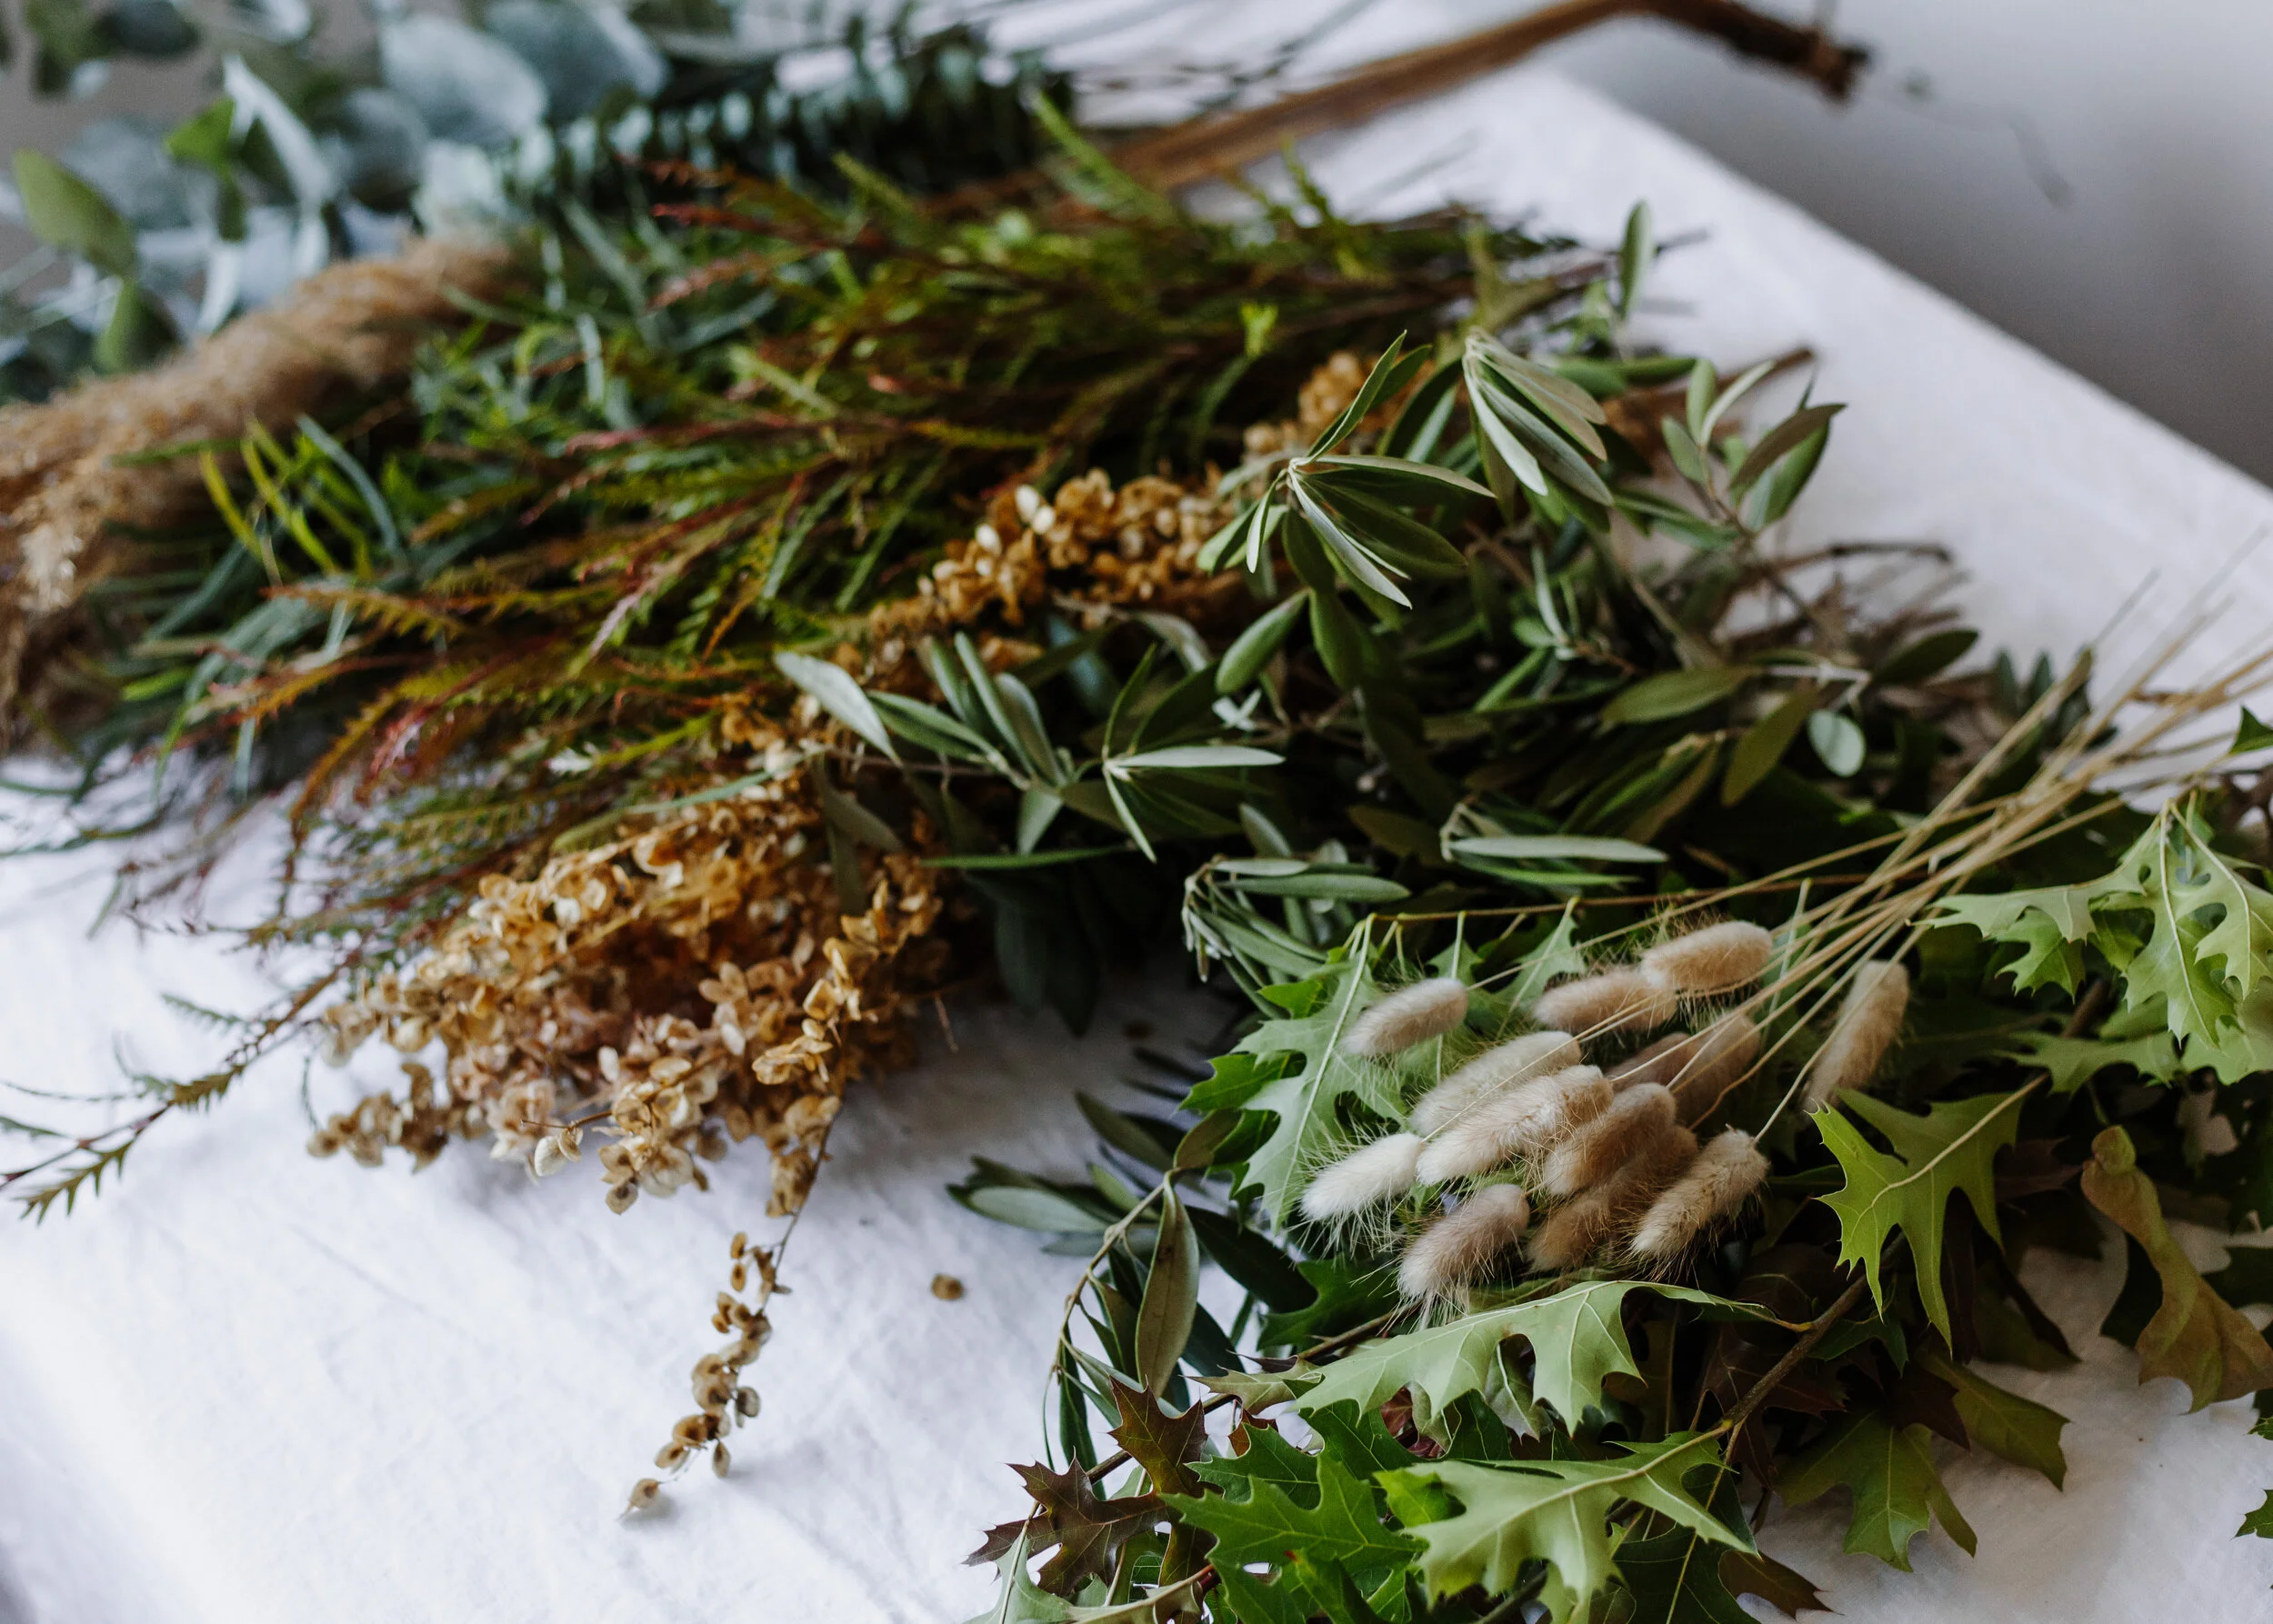
Your kit will most likely include the following foliage; different types of eucalyptus, olive branch, grevillea, oak leaves. The dried elements I love using the most are Atriplex (grown here in Kelowna), Pampas grass and Bunny tails. All of these ingredients make for a perfect everlasting design as they dry beautifully.
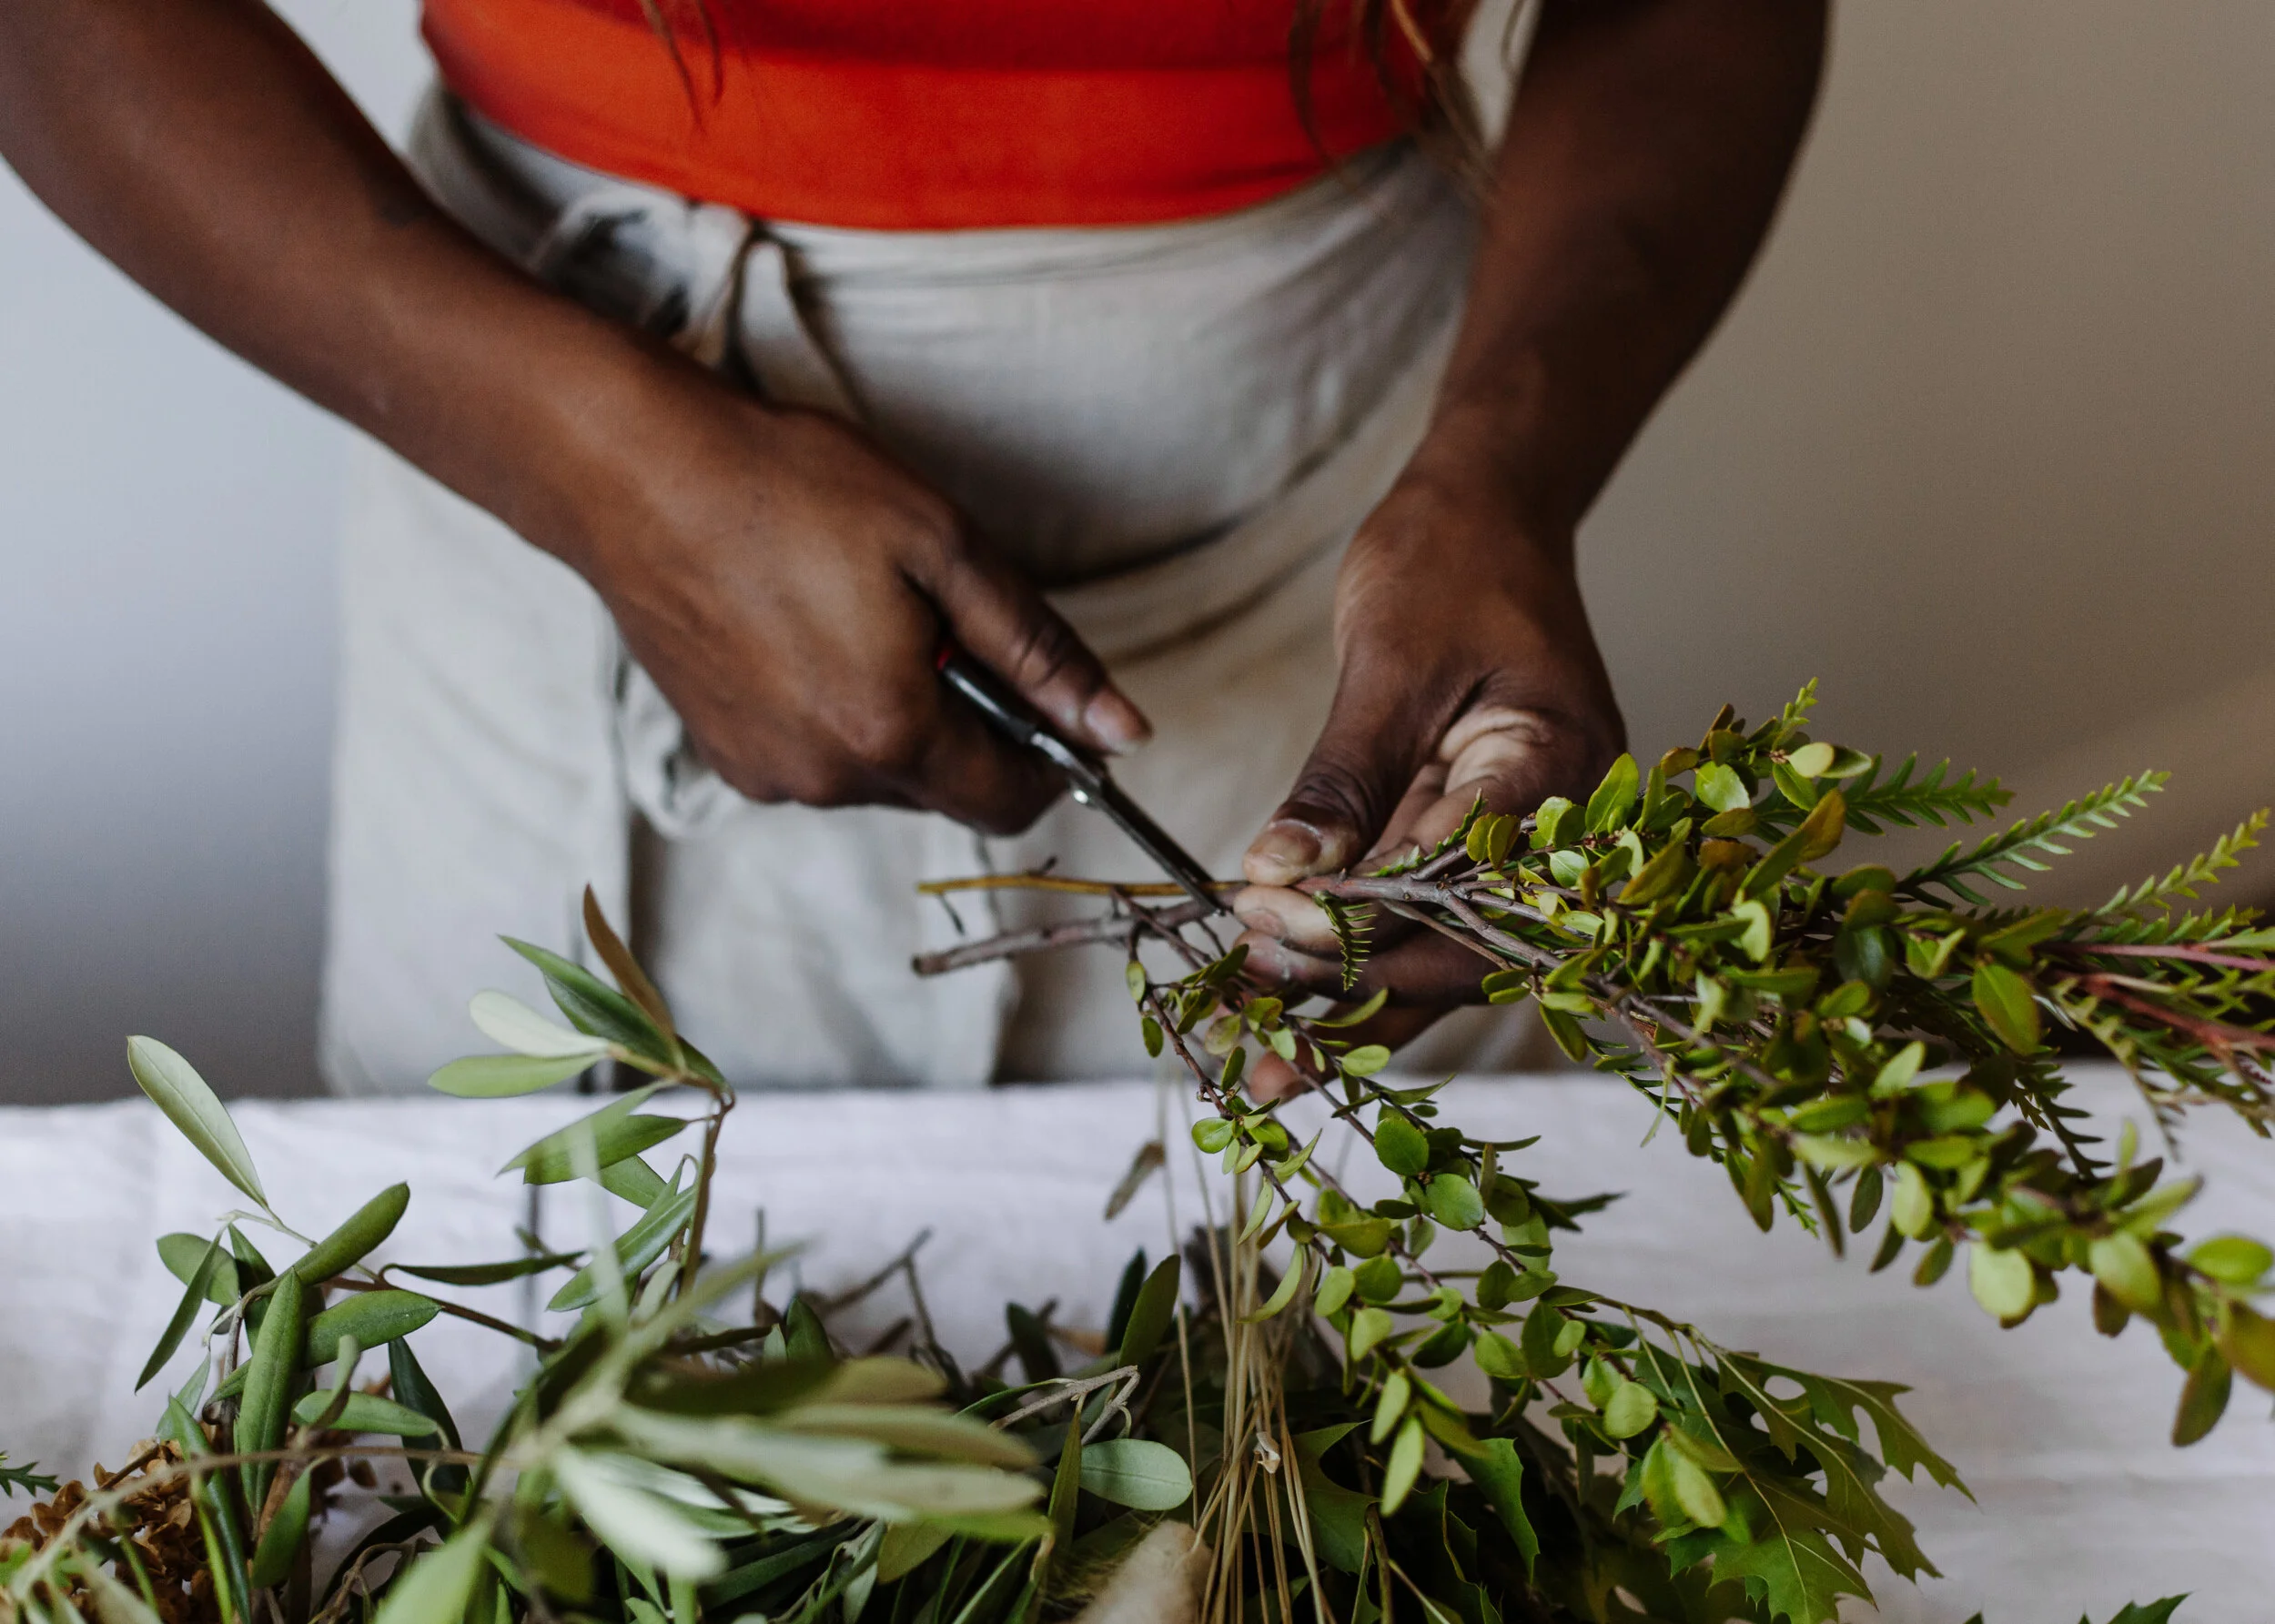
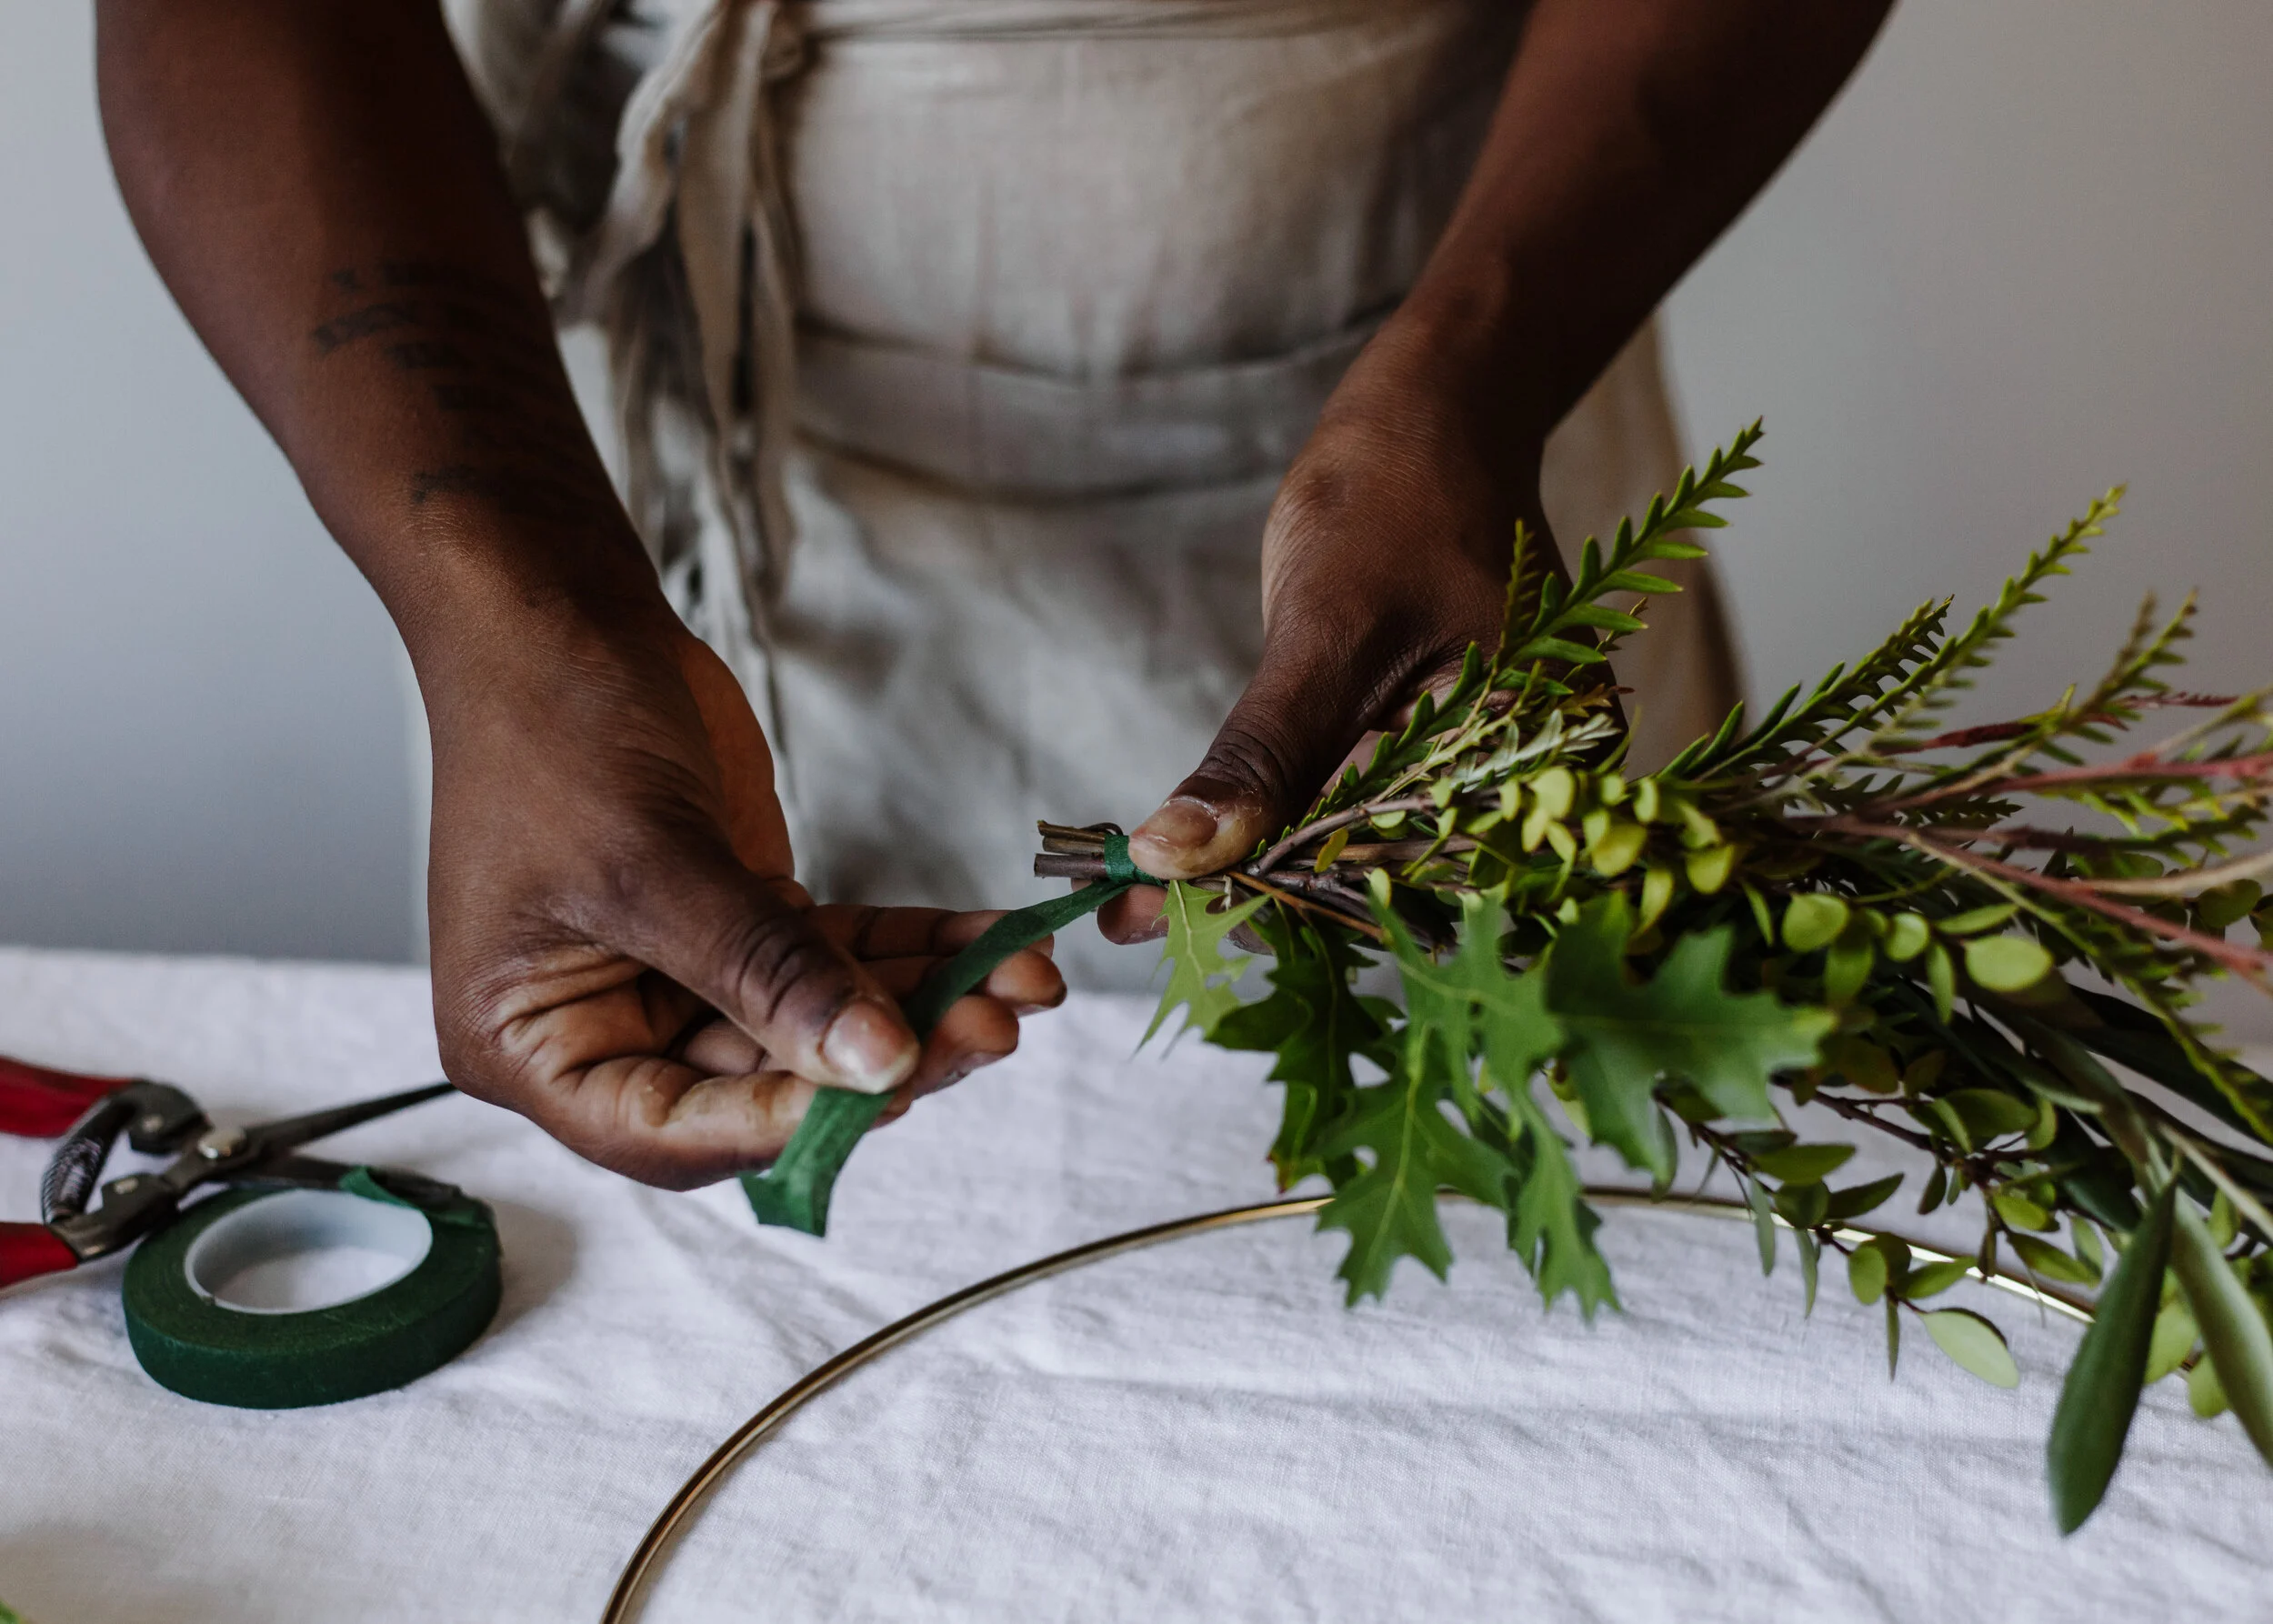
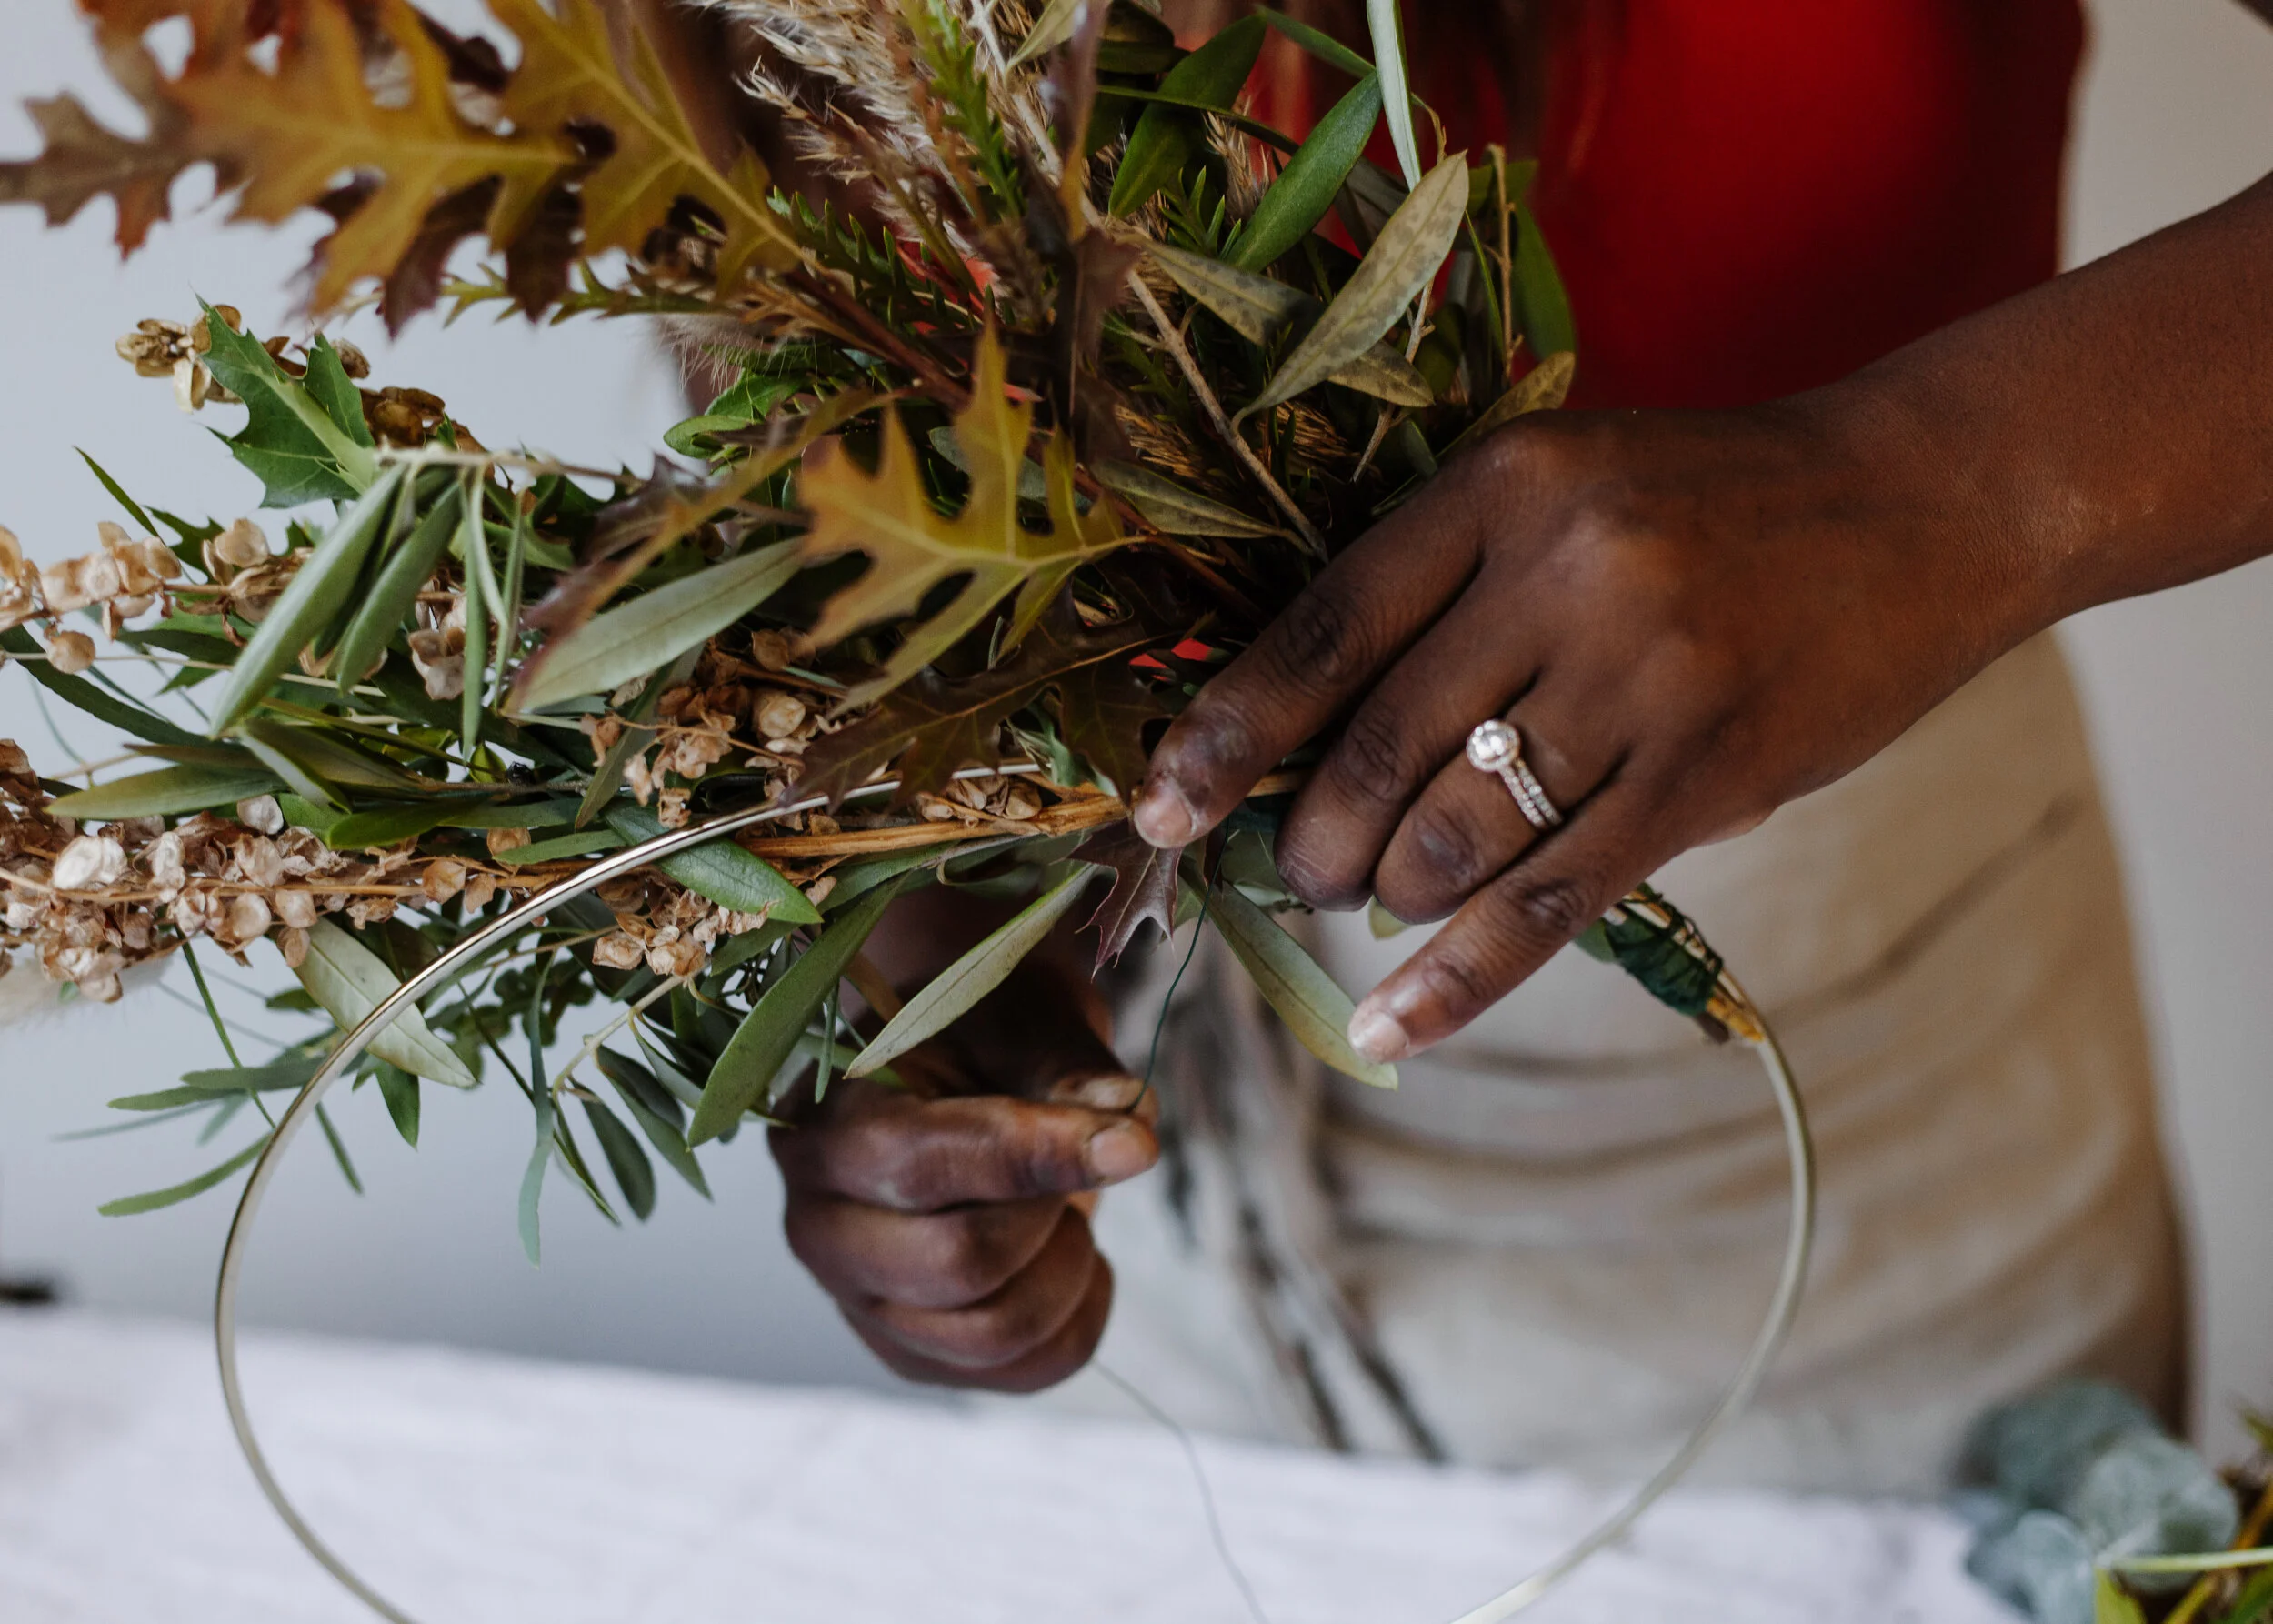
The first thing you want to do is make all your bundles in advance. I find it easier to visualize a finished product when all your pieces are ready to attach. I suggest bundling up 5-6 stems per bunch to make about 15-20 bunches. You want to secure your bunches with the sticky floral tape for easy adhesion.
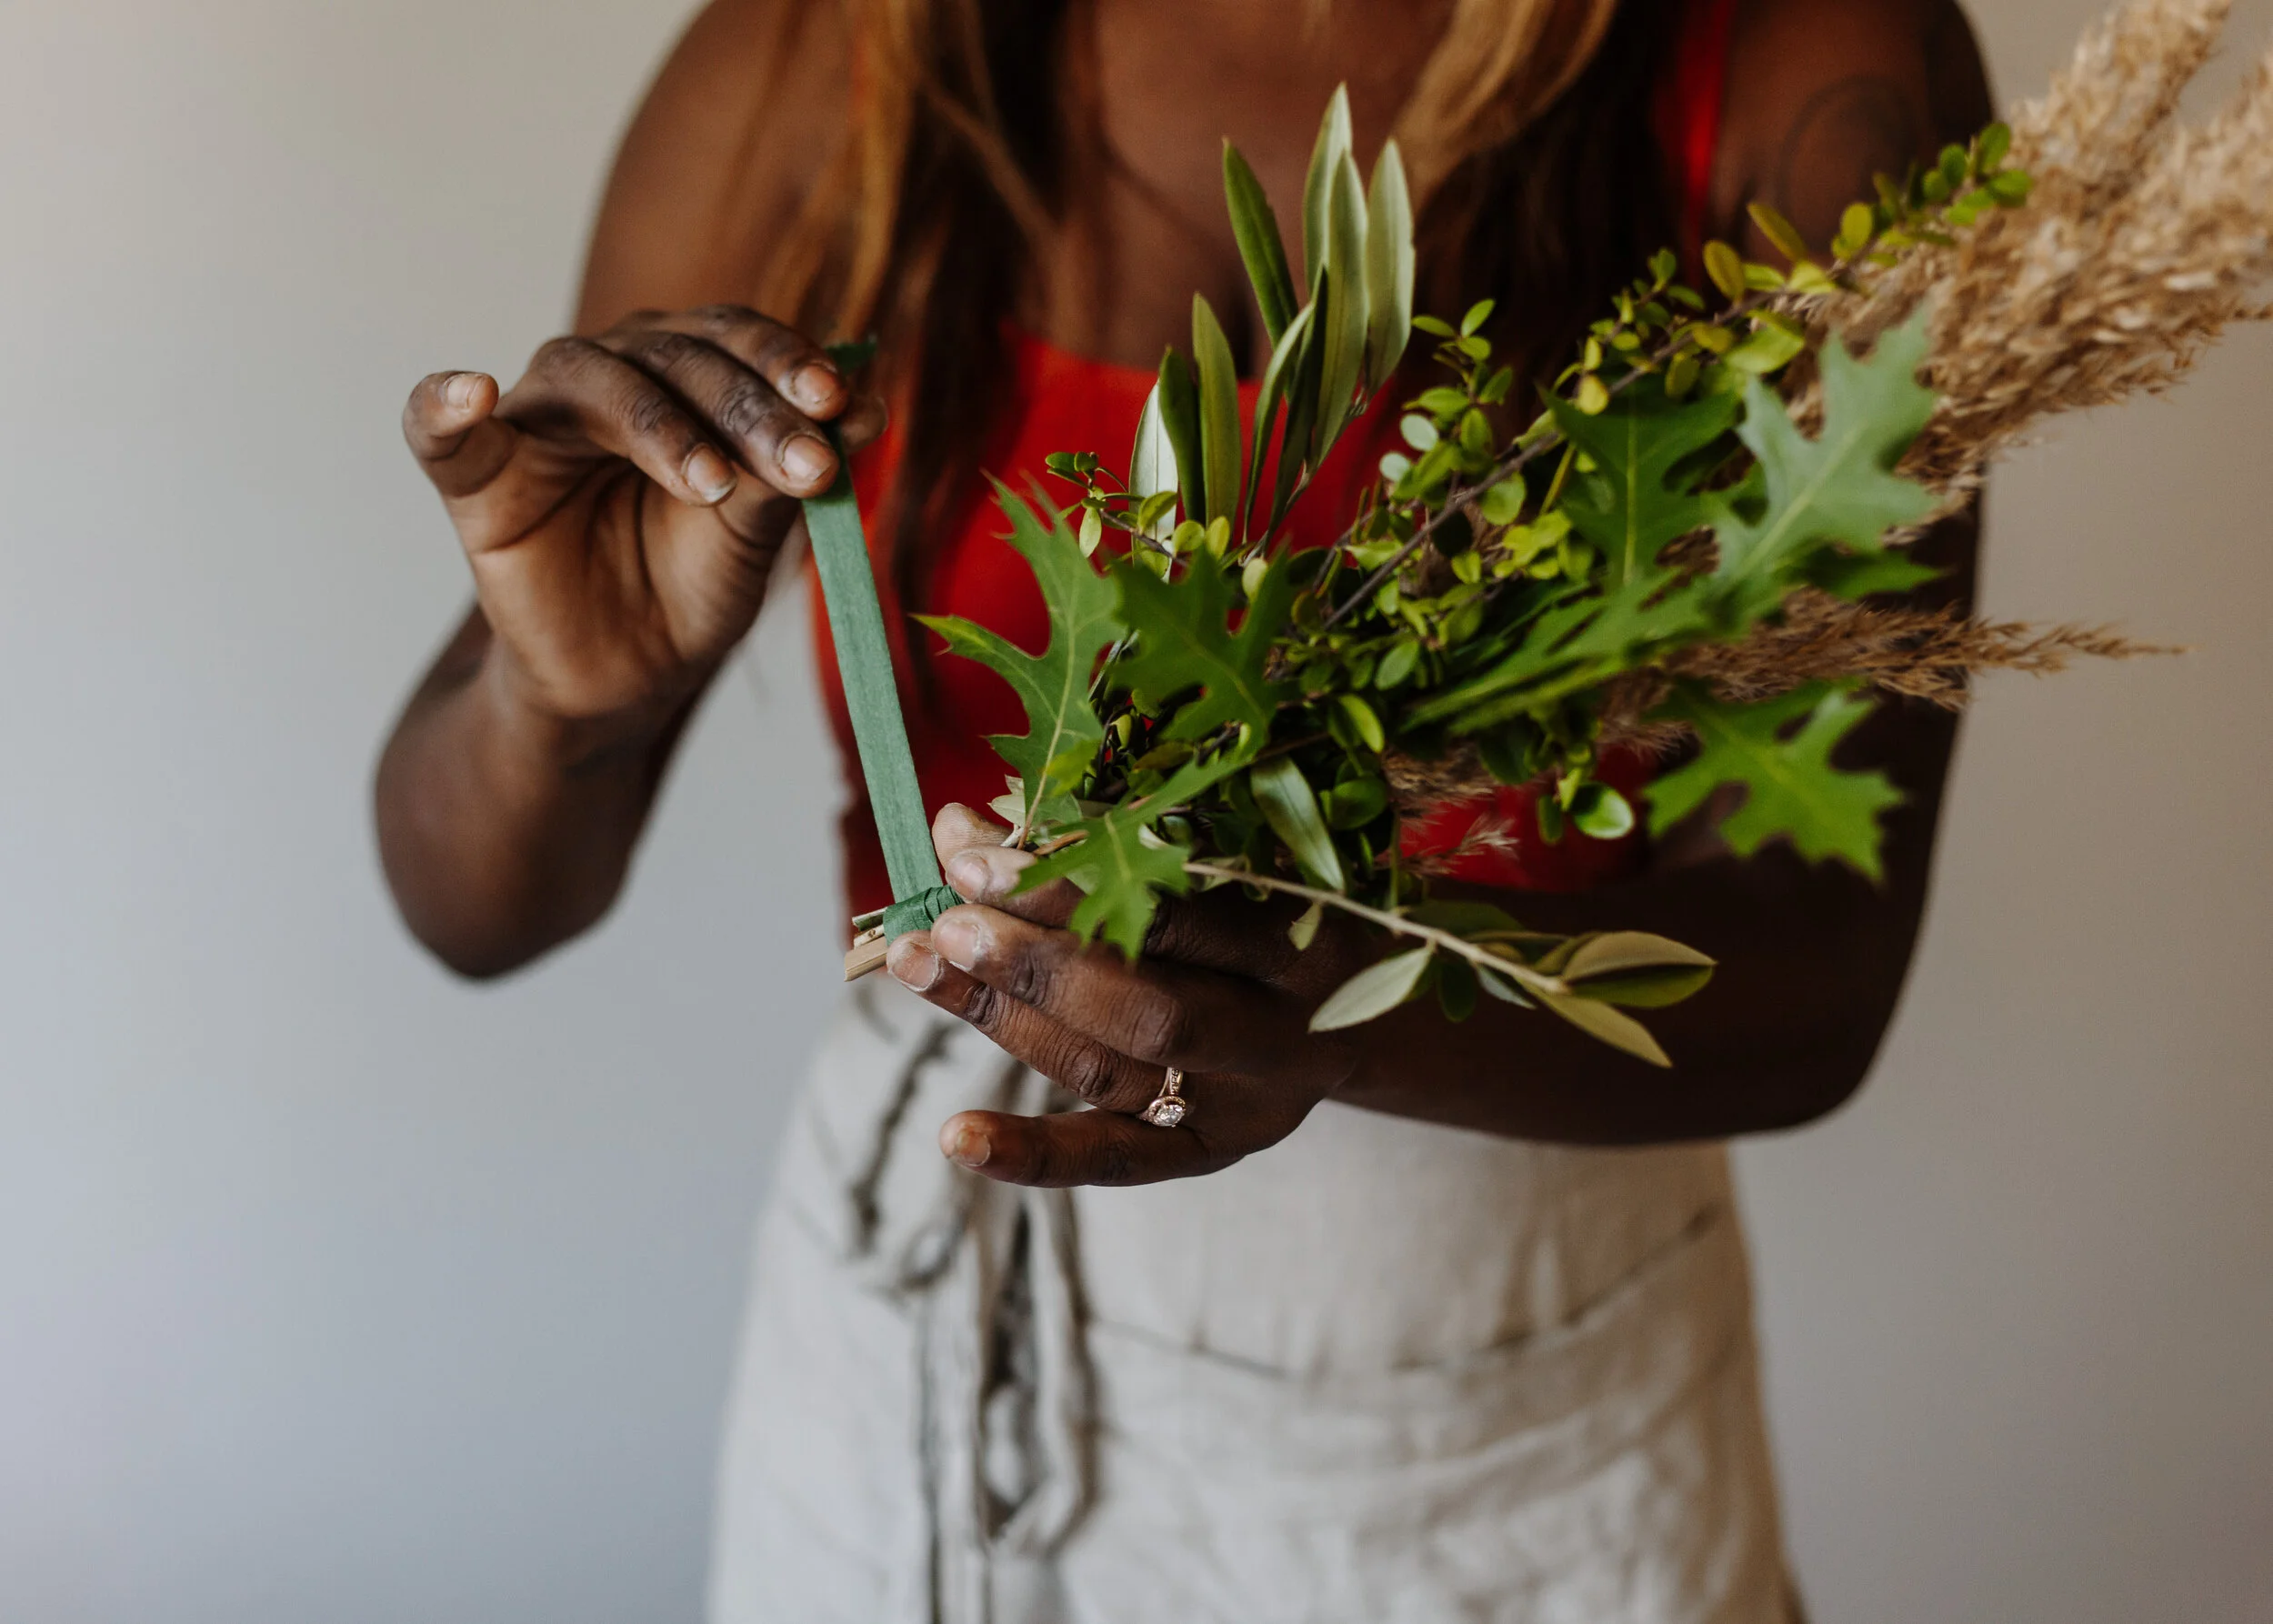
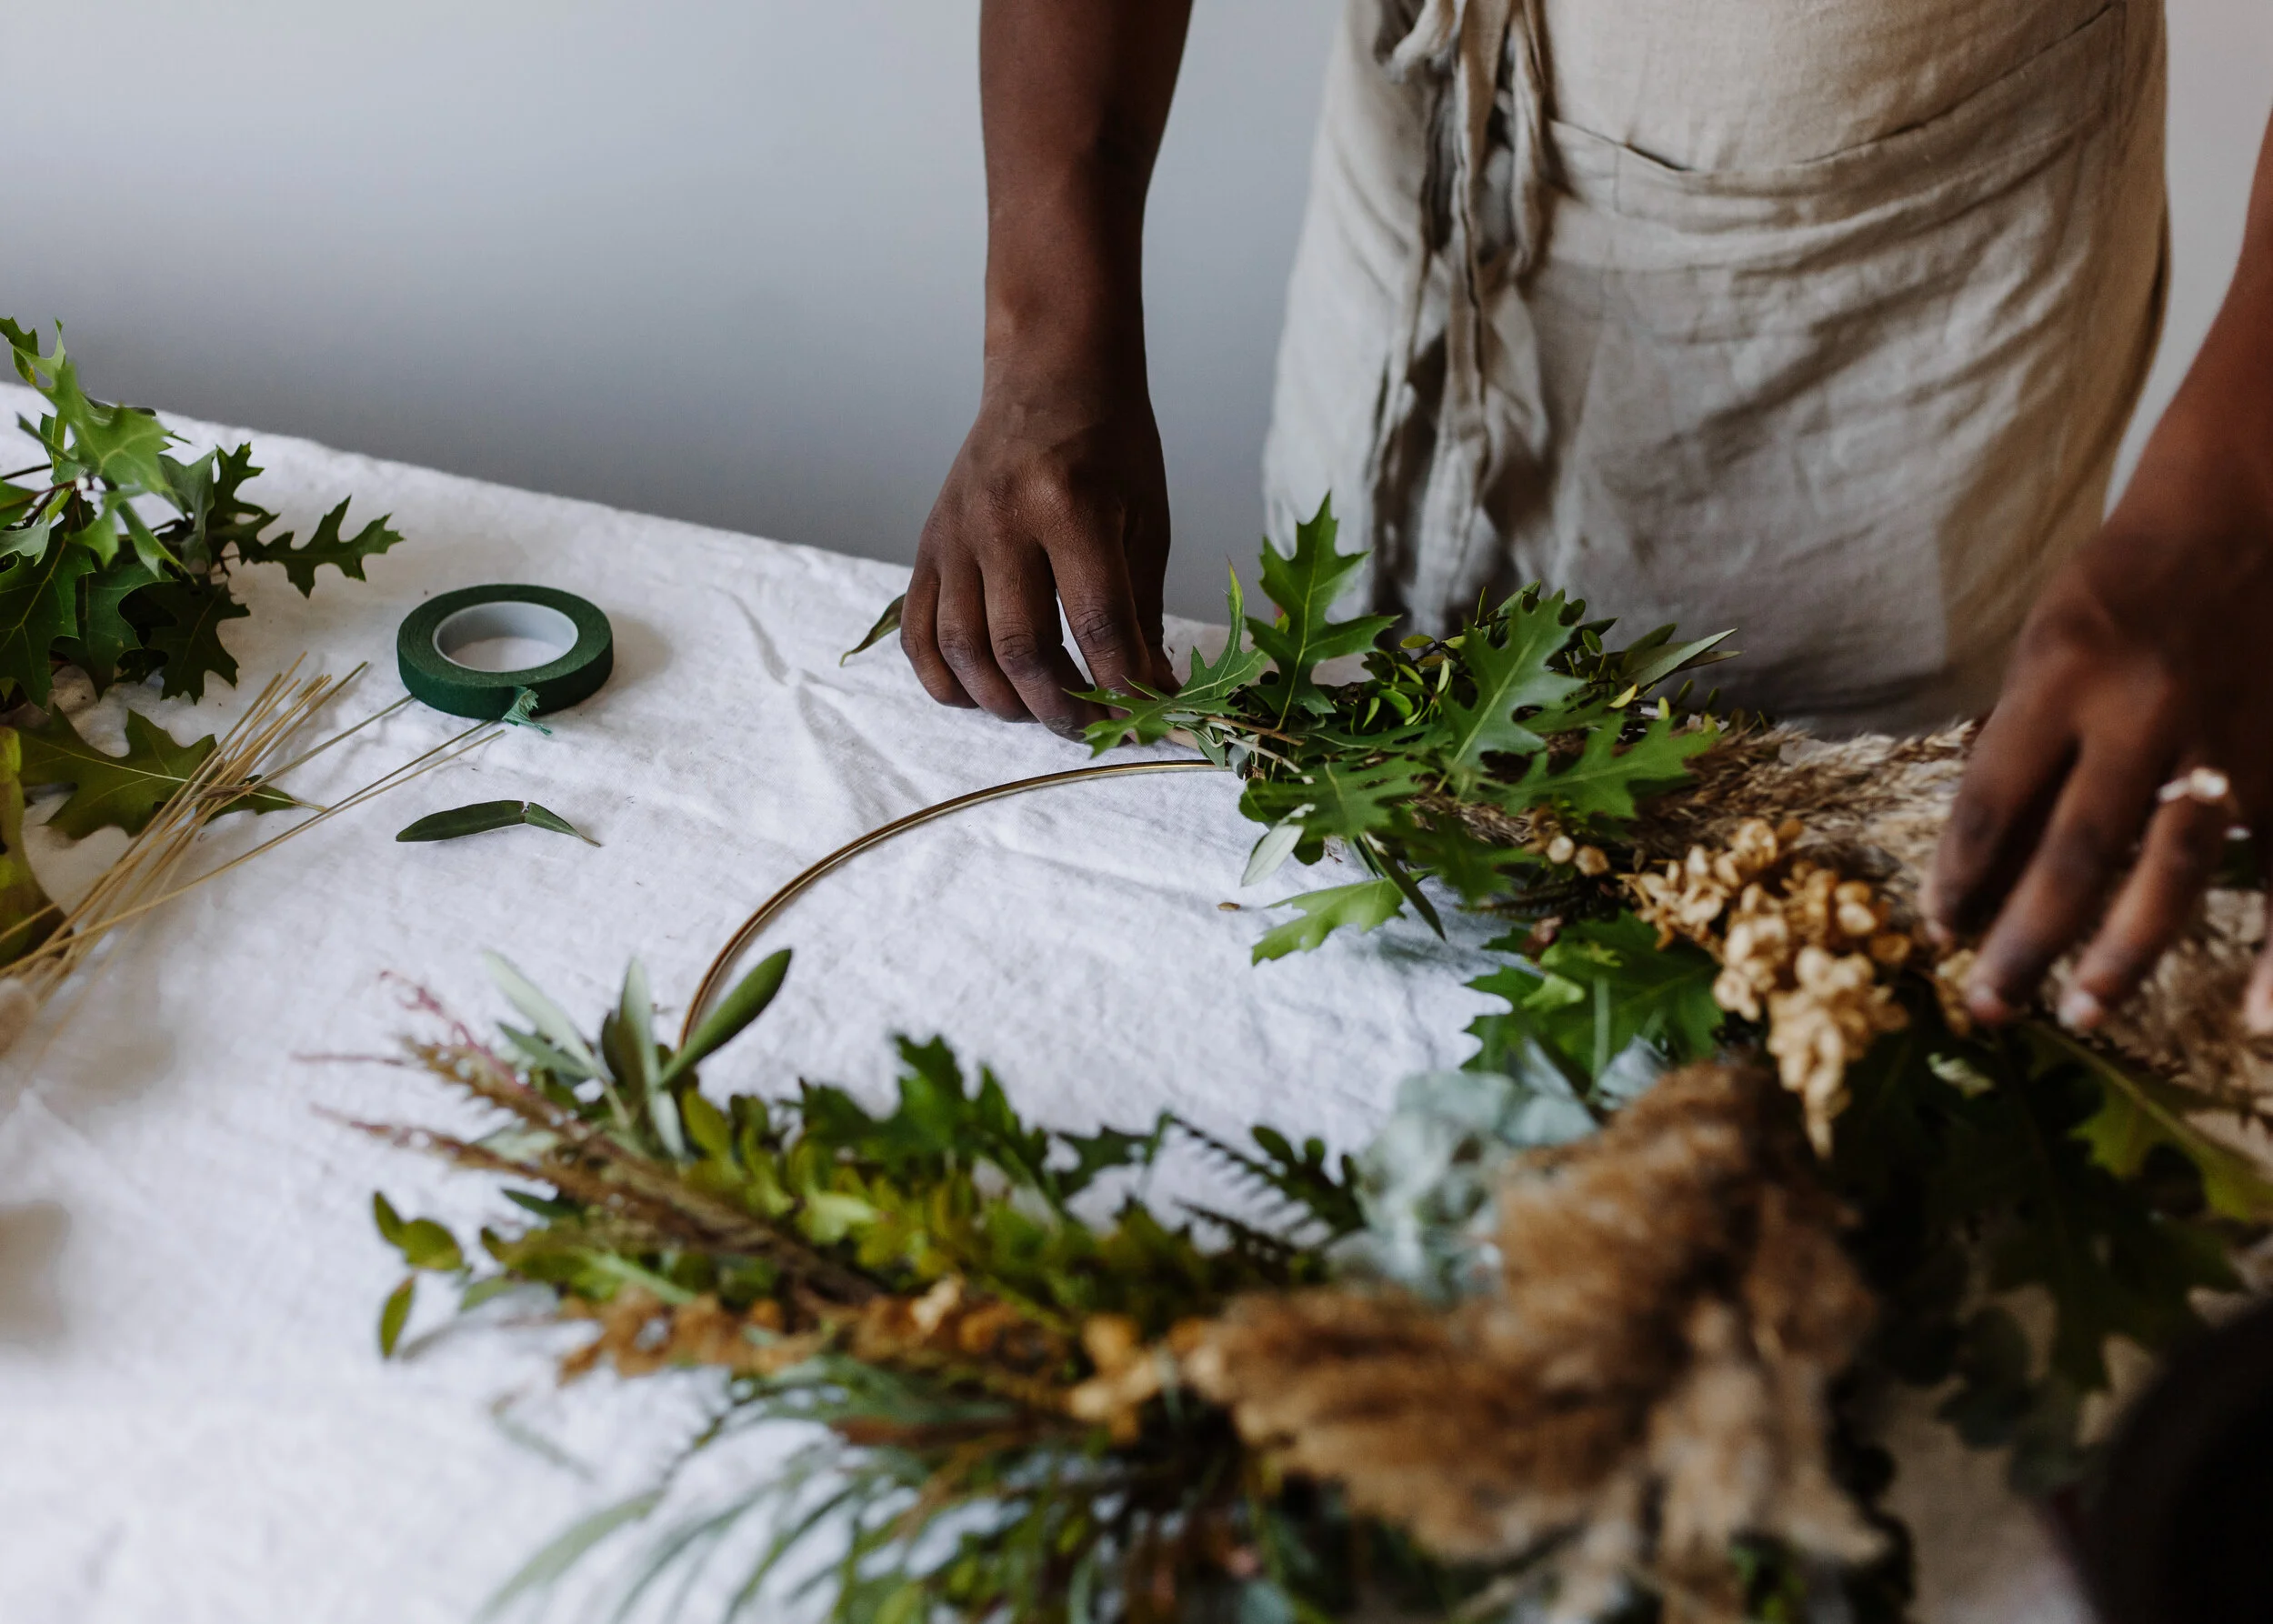
As you start making your bundles, place them on your ring (not attached), just to see what it looks like. If you like the look of them first of all, but also if you like their thickness. Alternating design makes for a more textural, eclectic finish look. I prefer mixing things up rather them making the same bunches throughout. But this is your creation, you get to make it your own. Have fun with it!
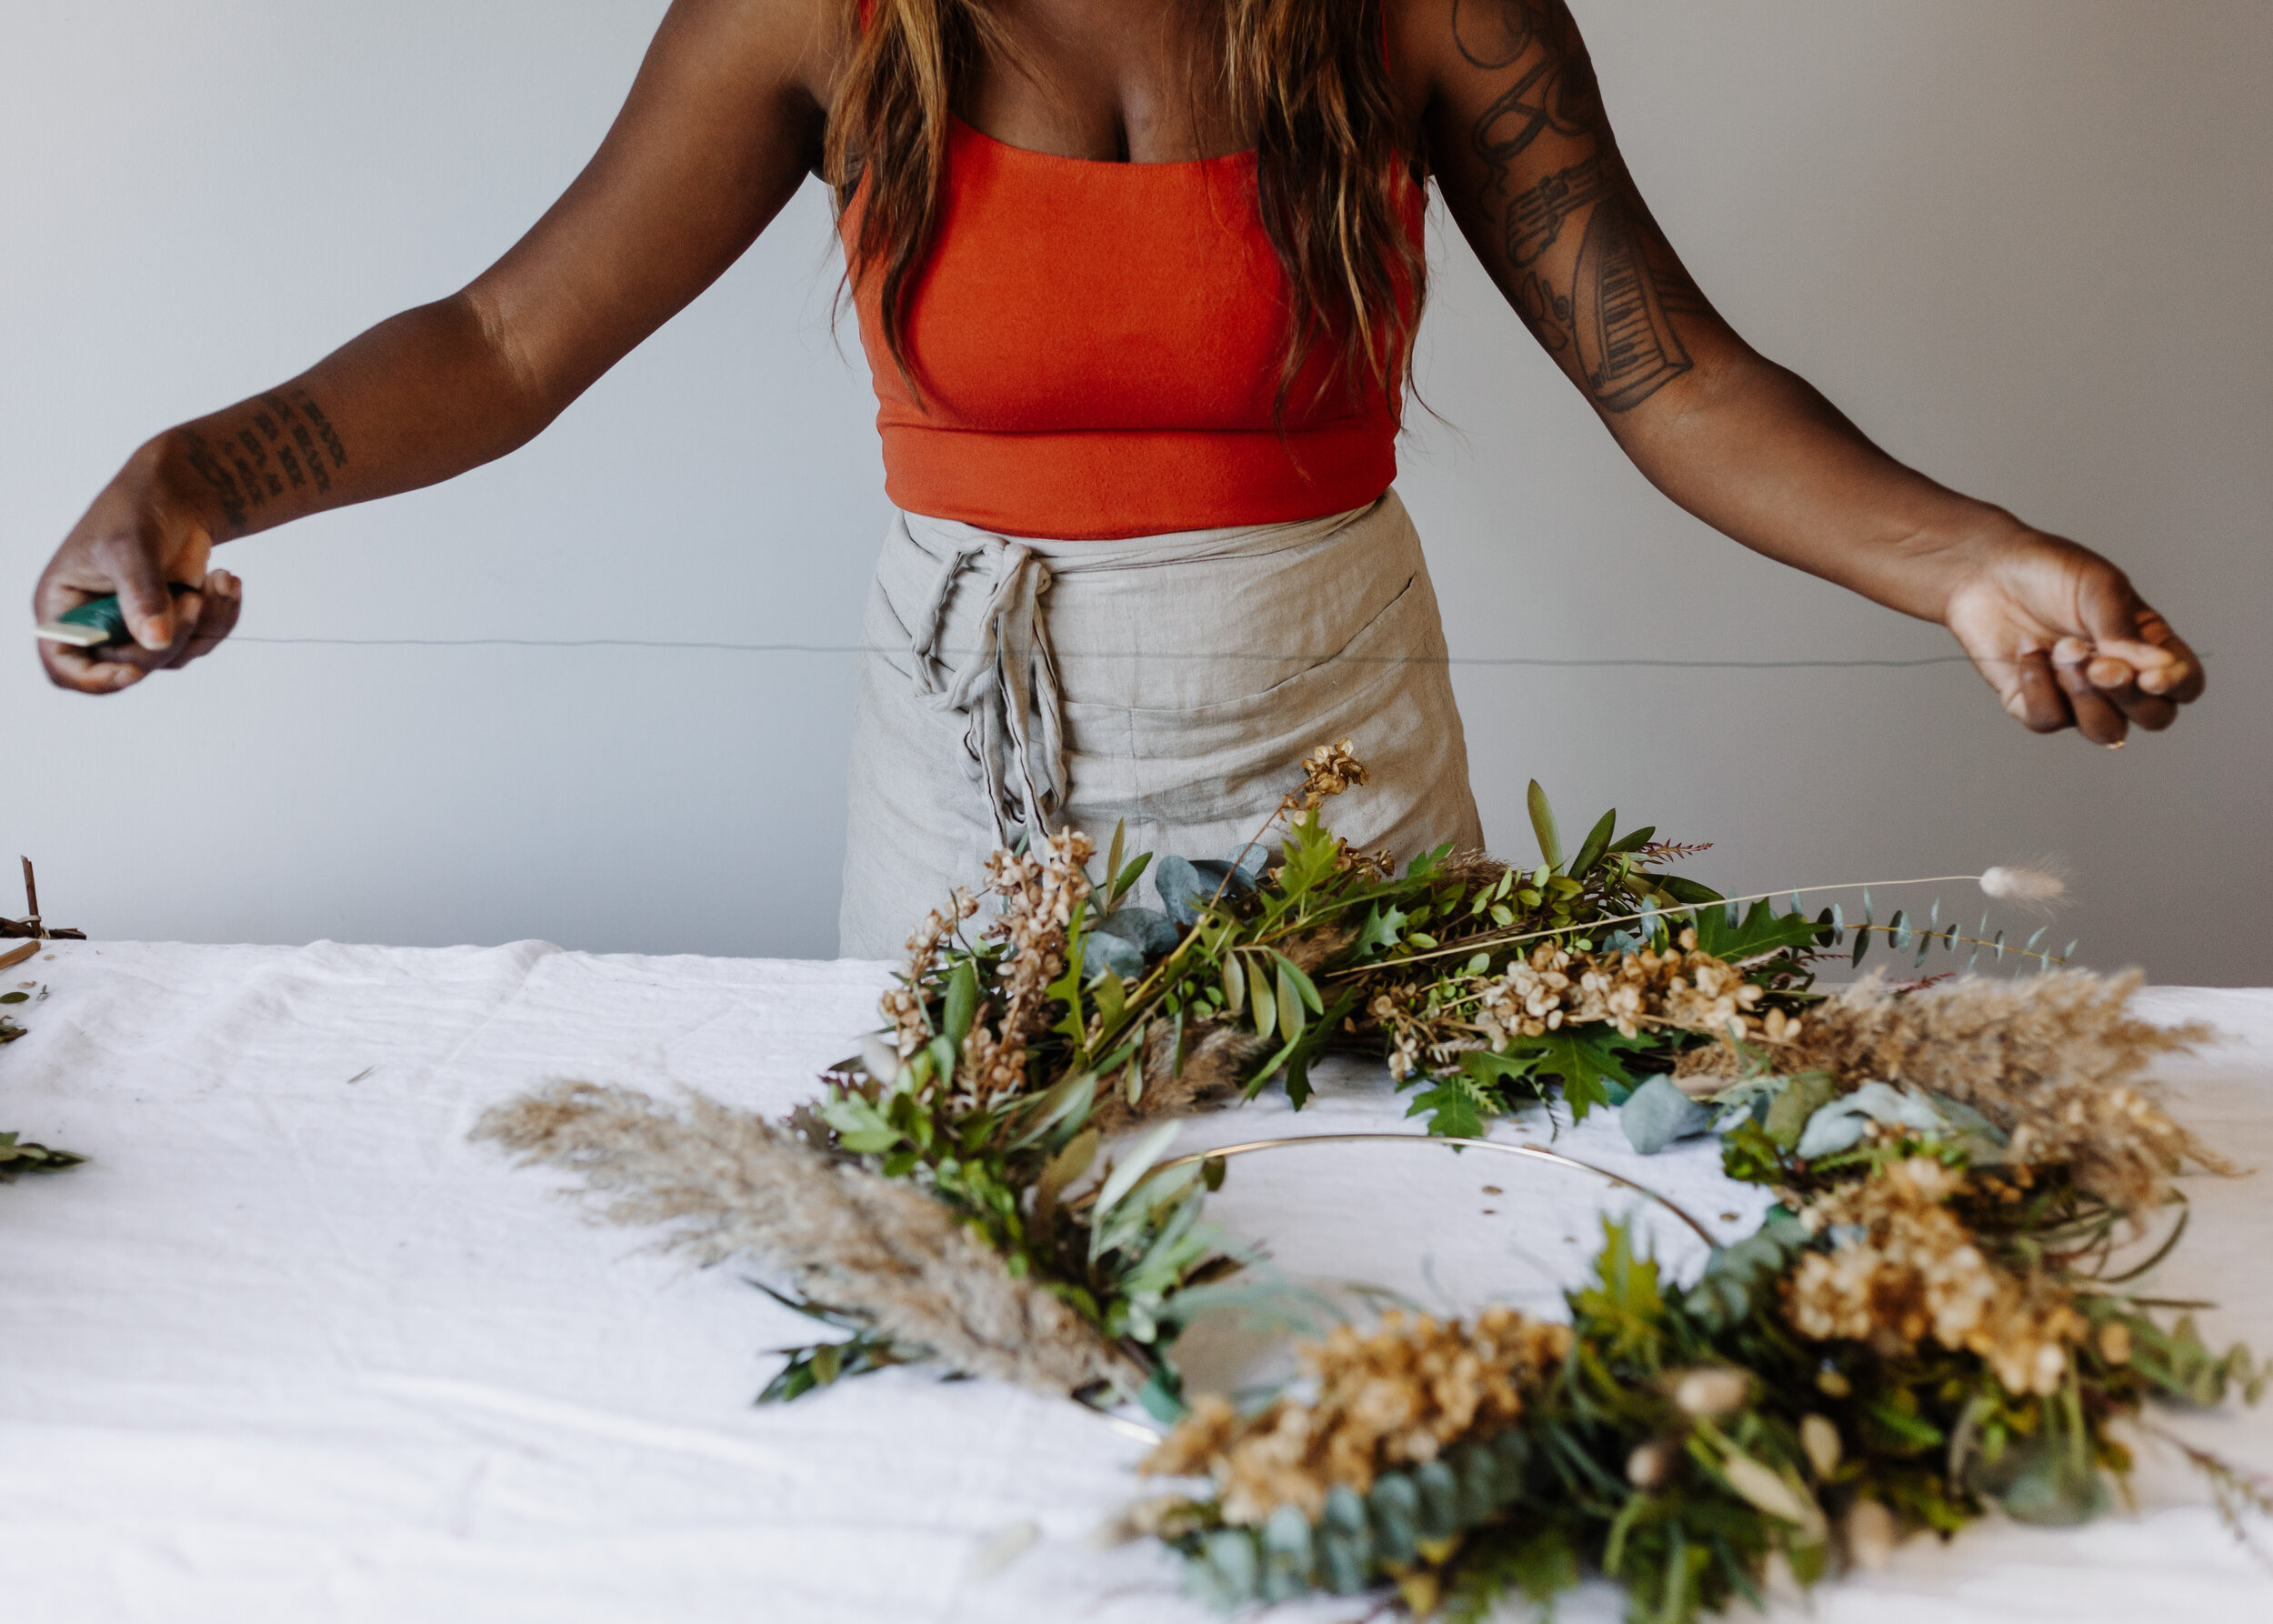
When you are happy with your bundles, you are ready to start attaching and securing them to your hoop. You will need your floral wire. I suggest to keep a single strand or 2-3 really long ones. Cutting them each time you attach will not be as secure and will cause your bundles to slide down on your ring. A long strand keeps them all together better.
You want to wrap your bundles to the ring. Apply pressure by holding the bundle between your fingers as your wrapping the floral wire at the base of your bundle. Attaching on top of the sticky floral tape will help with securing them to the brass ring.
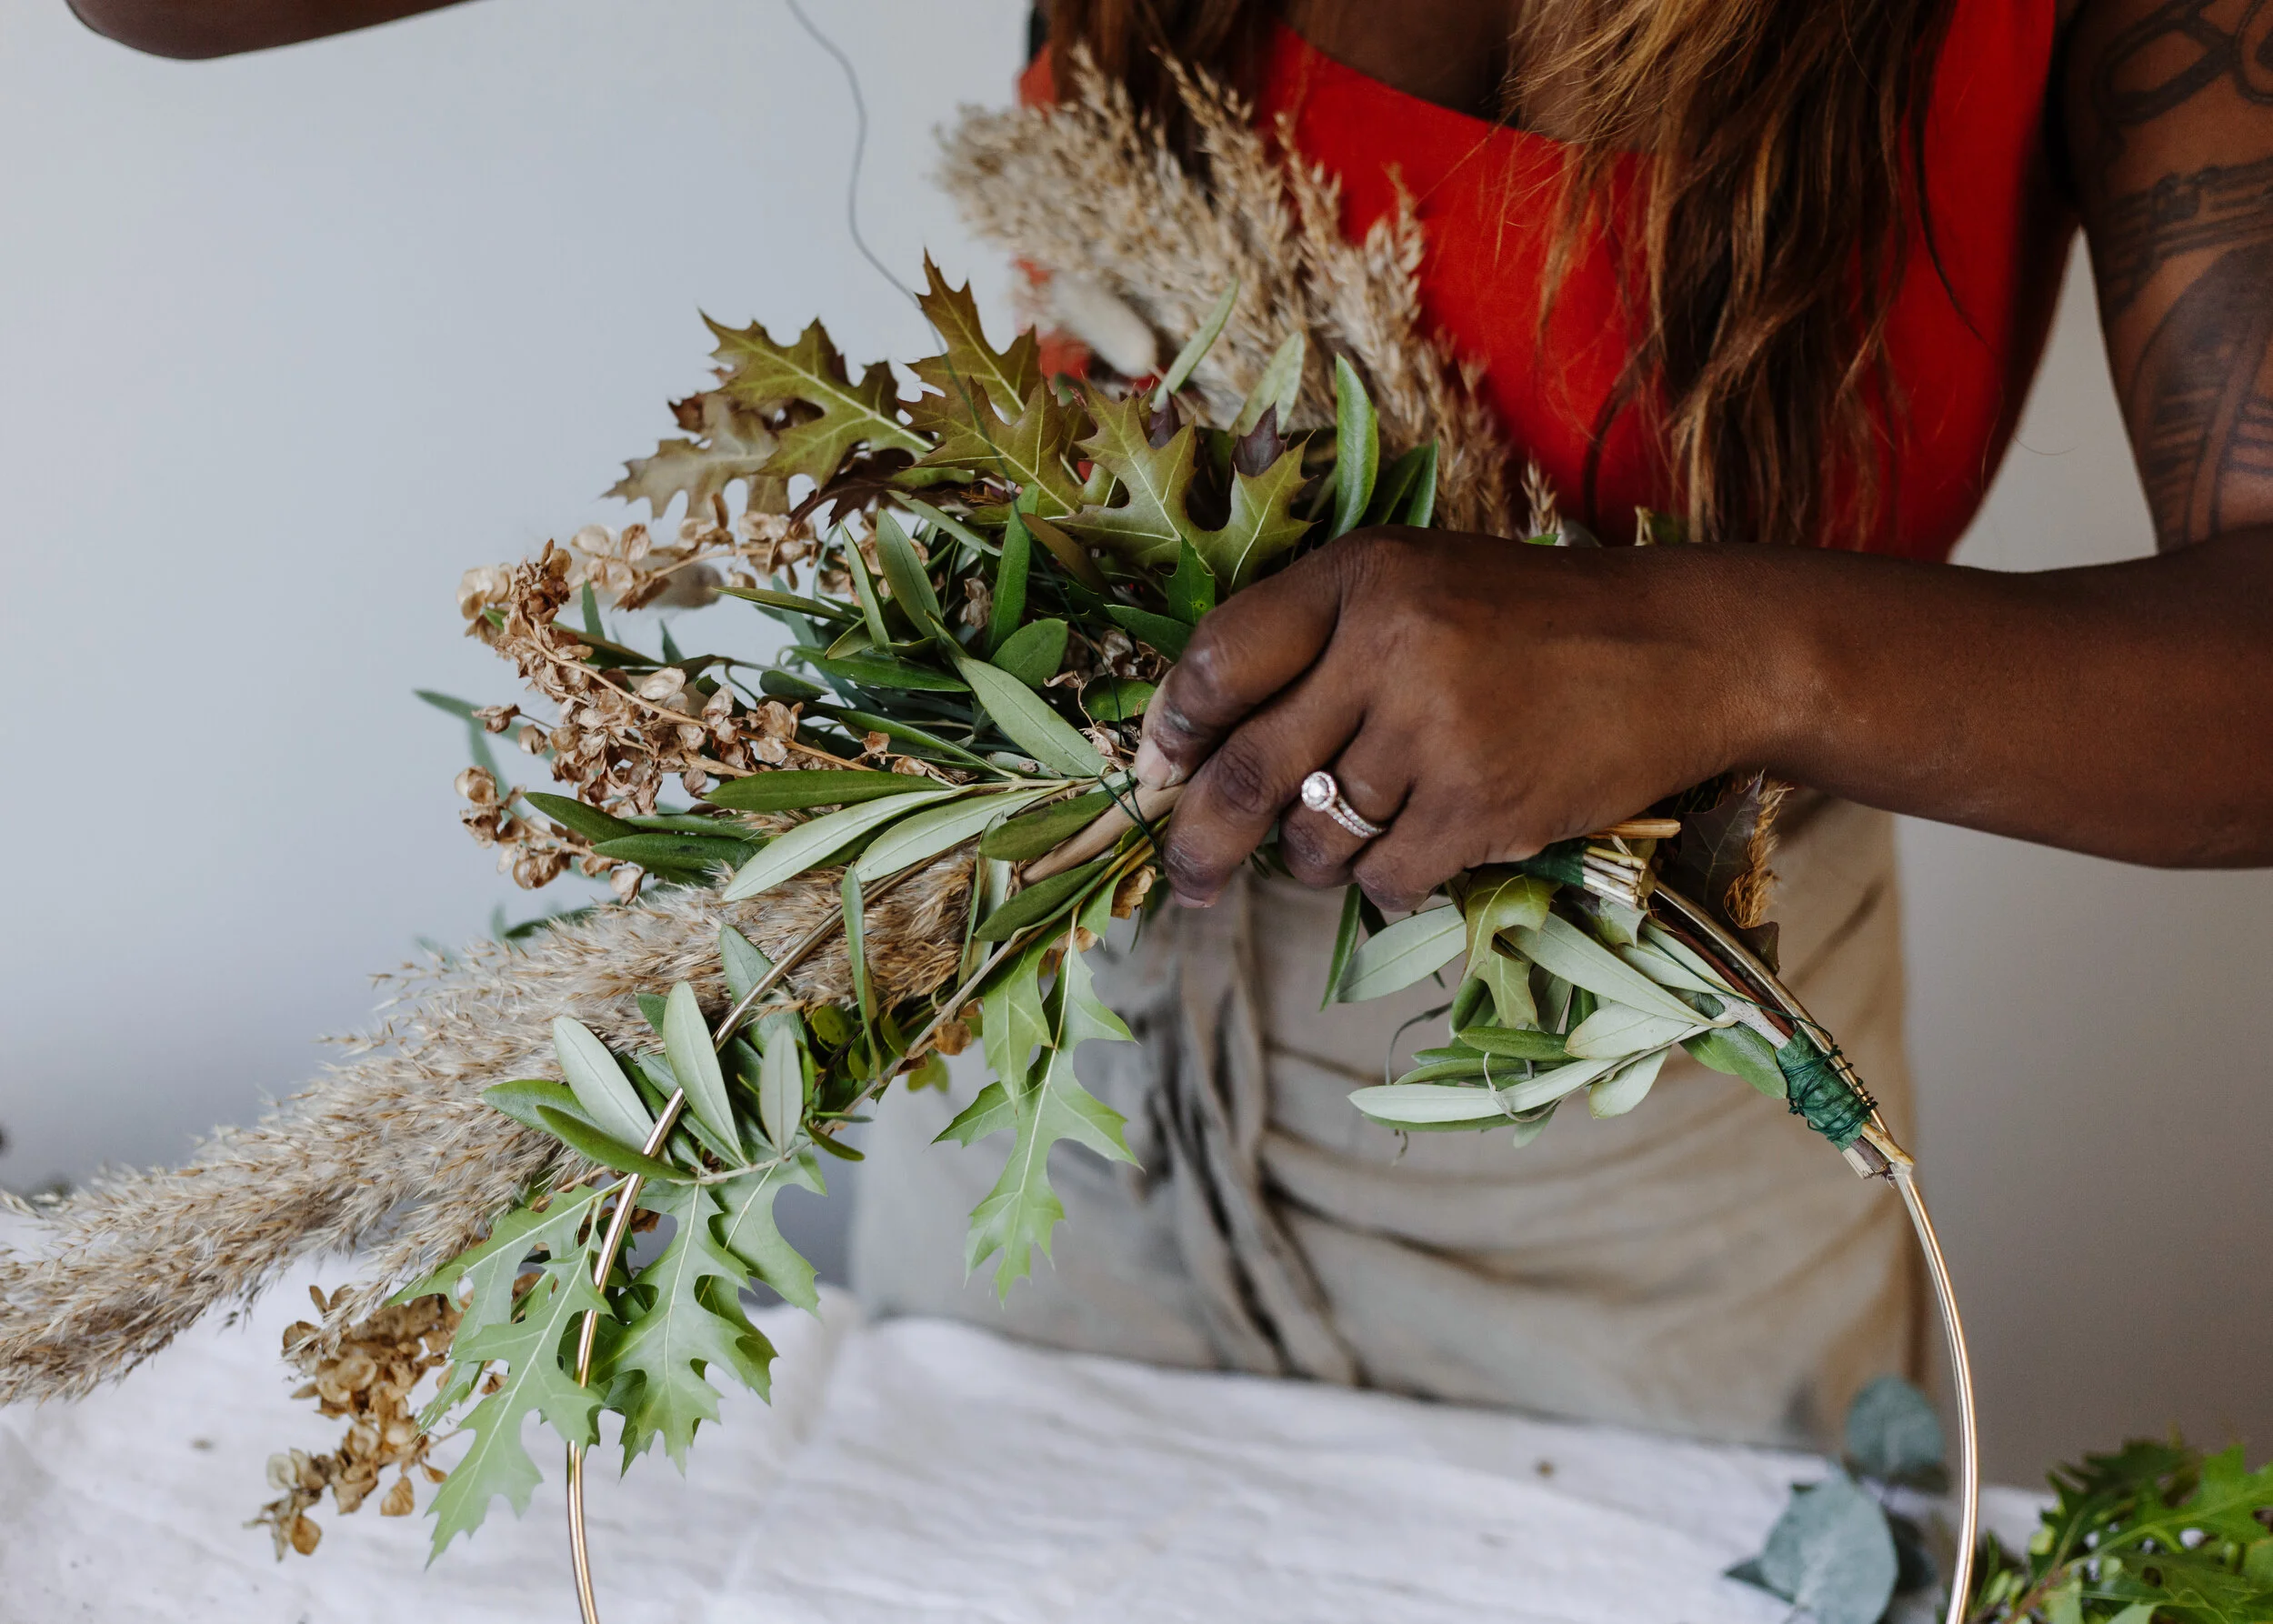
As you start adding more bundles to your ring, remember to take a step back and look at your placement. If you’re using a single strand of floral wire, loosening it a little bit will allow you to move your bundles up and down as needed. You want to ensure the brass ring is covered and the bundles are where you want to be.

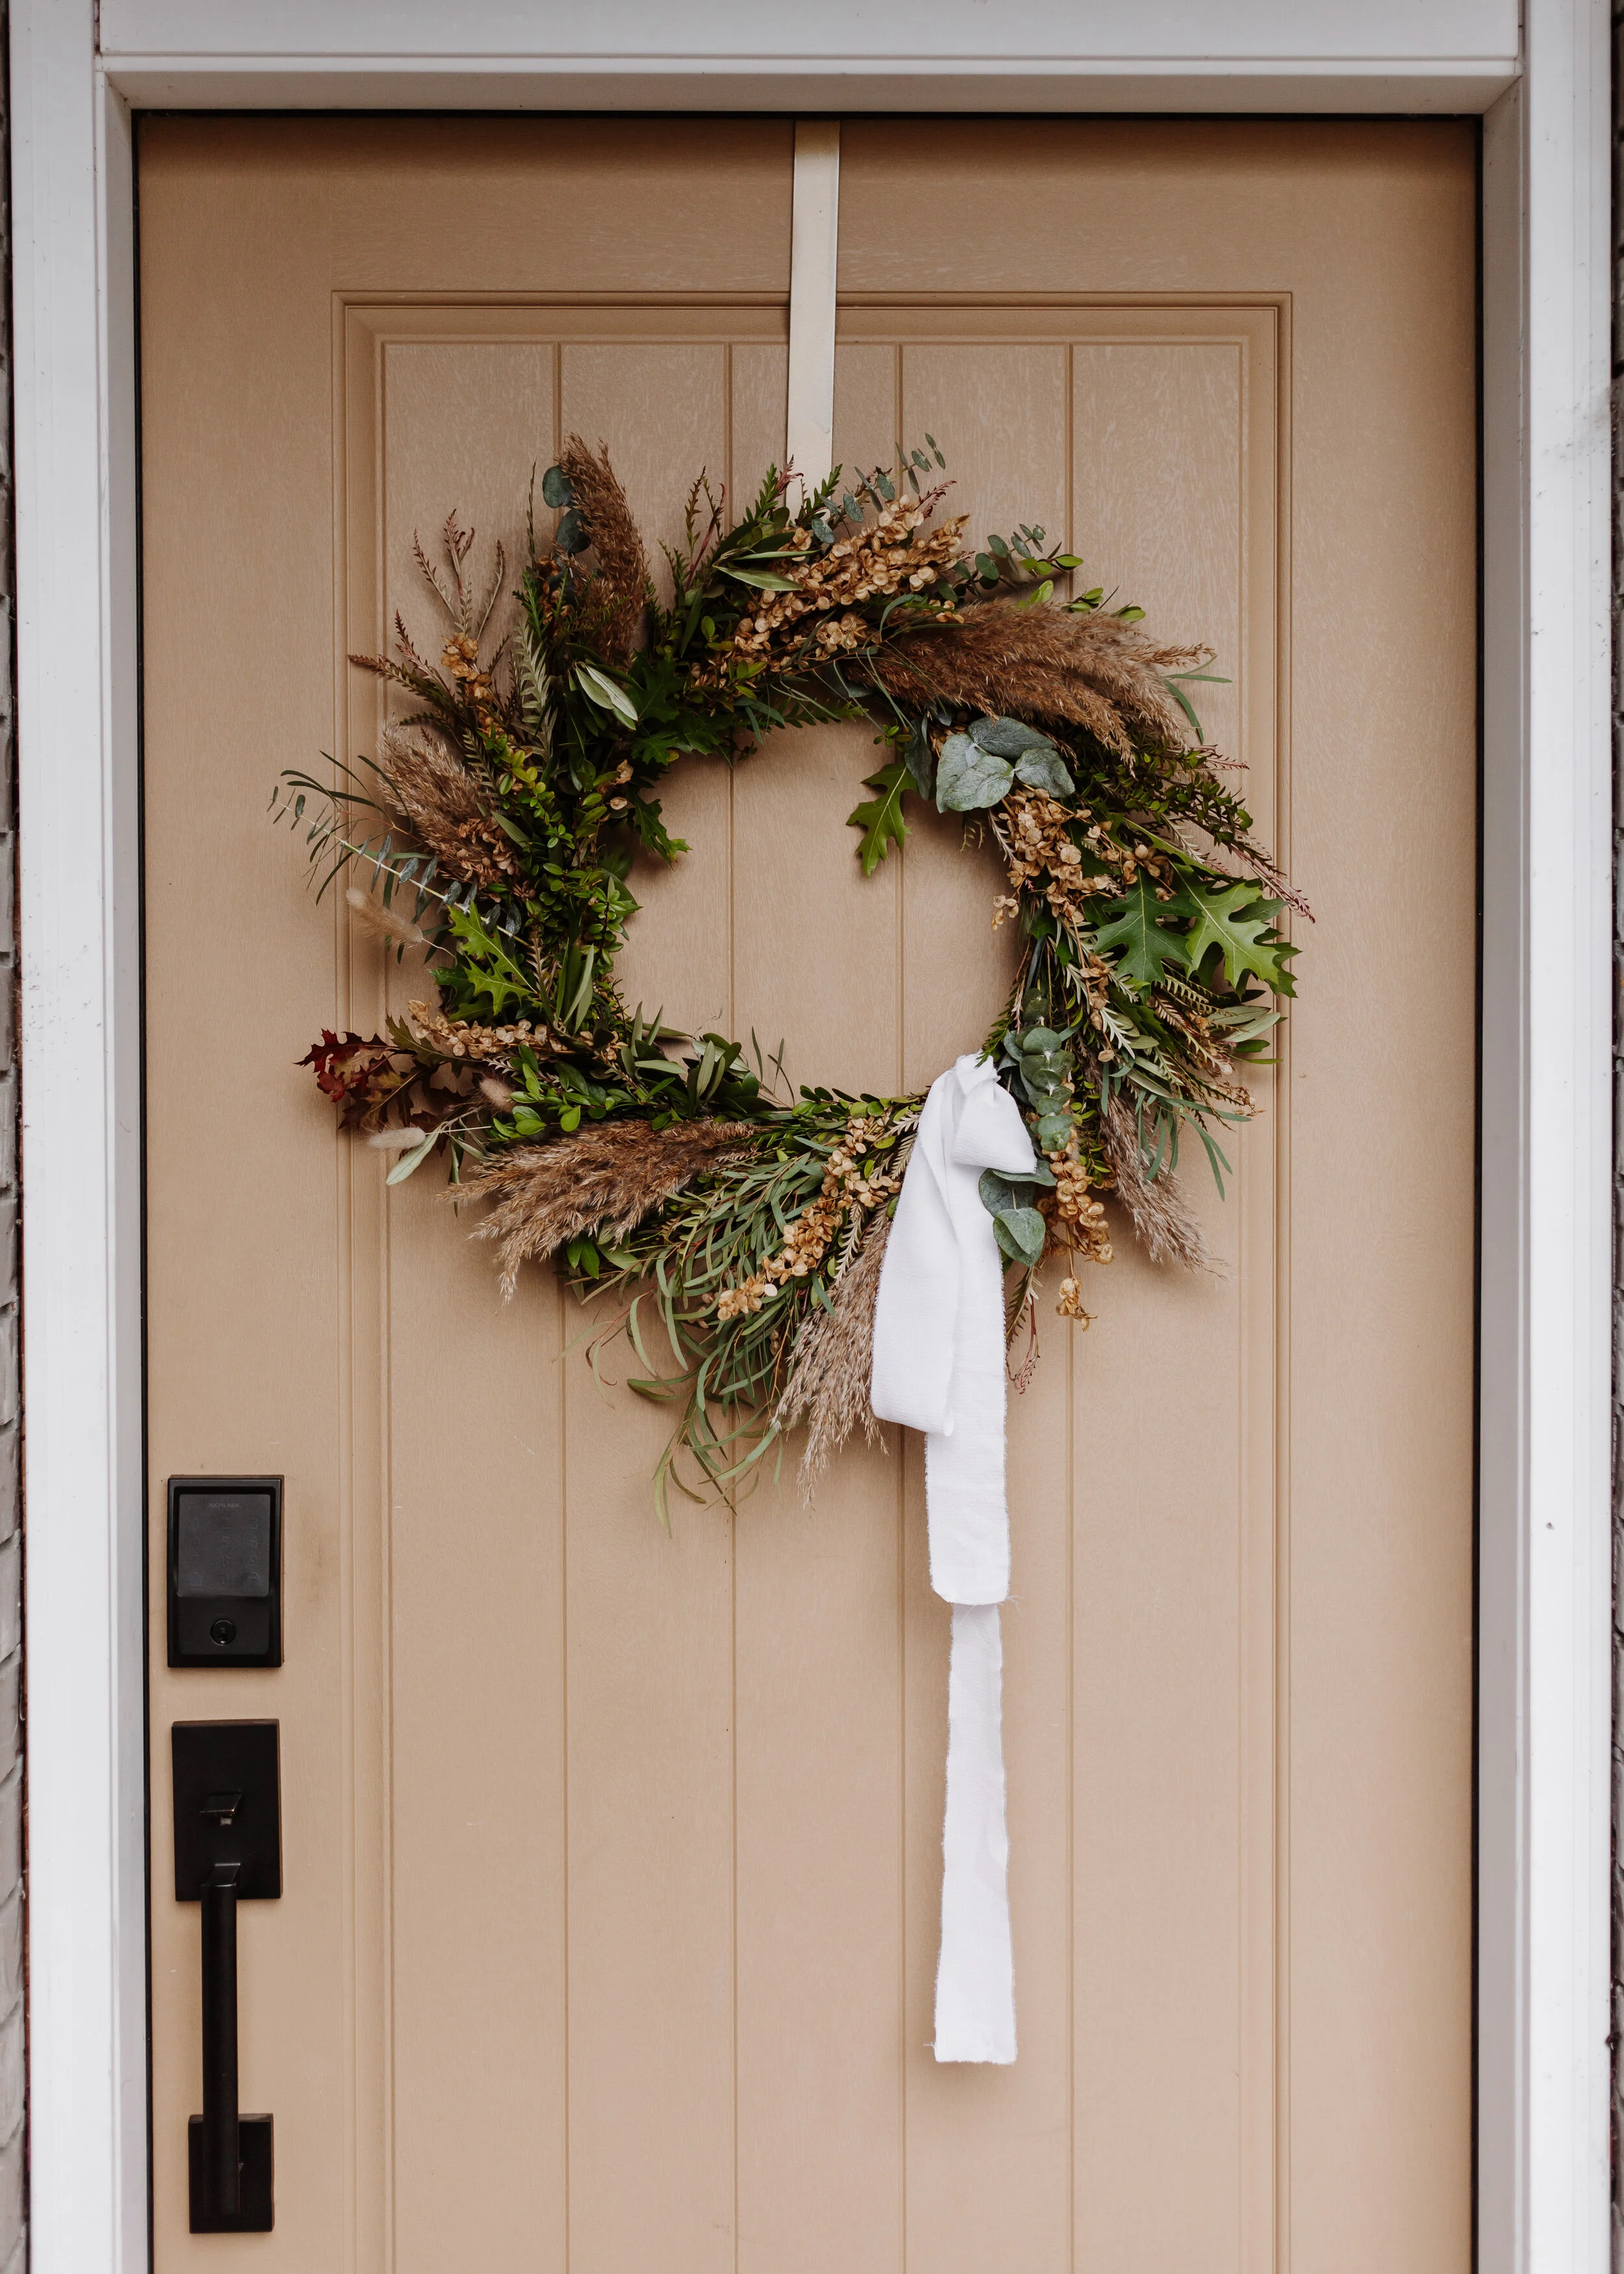
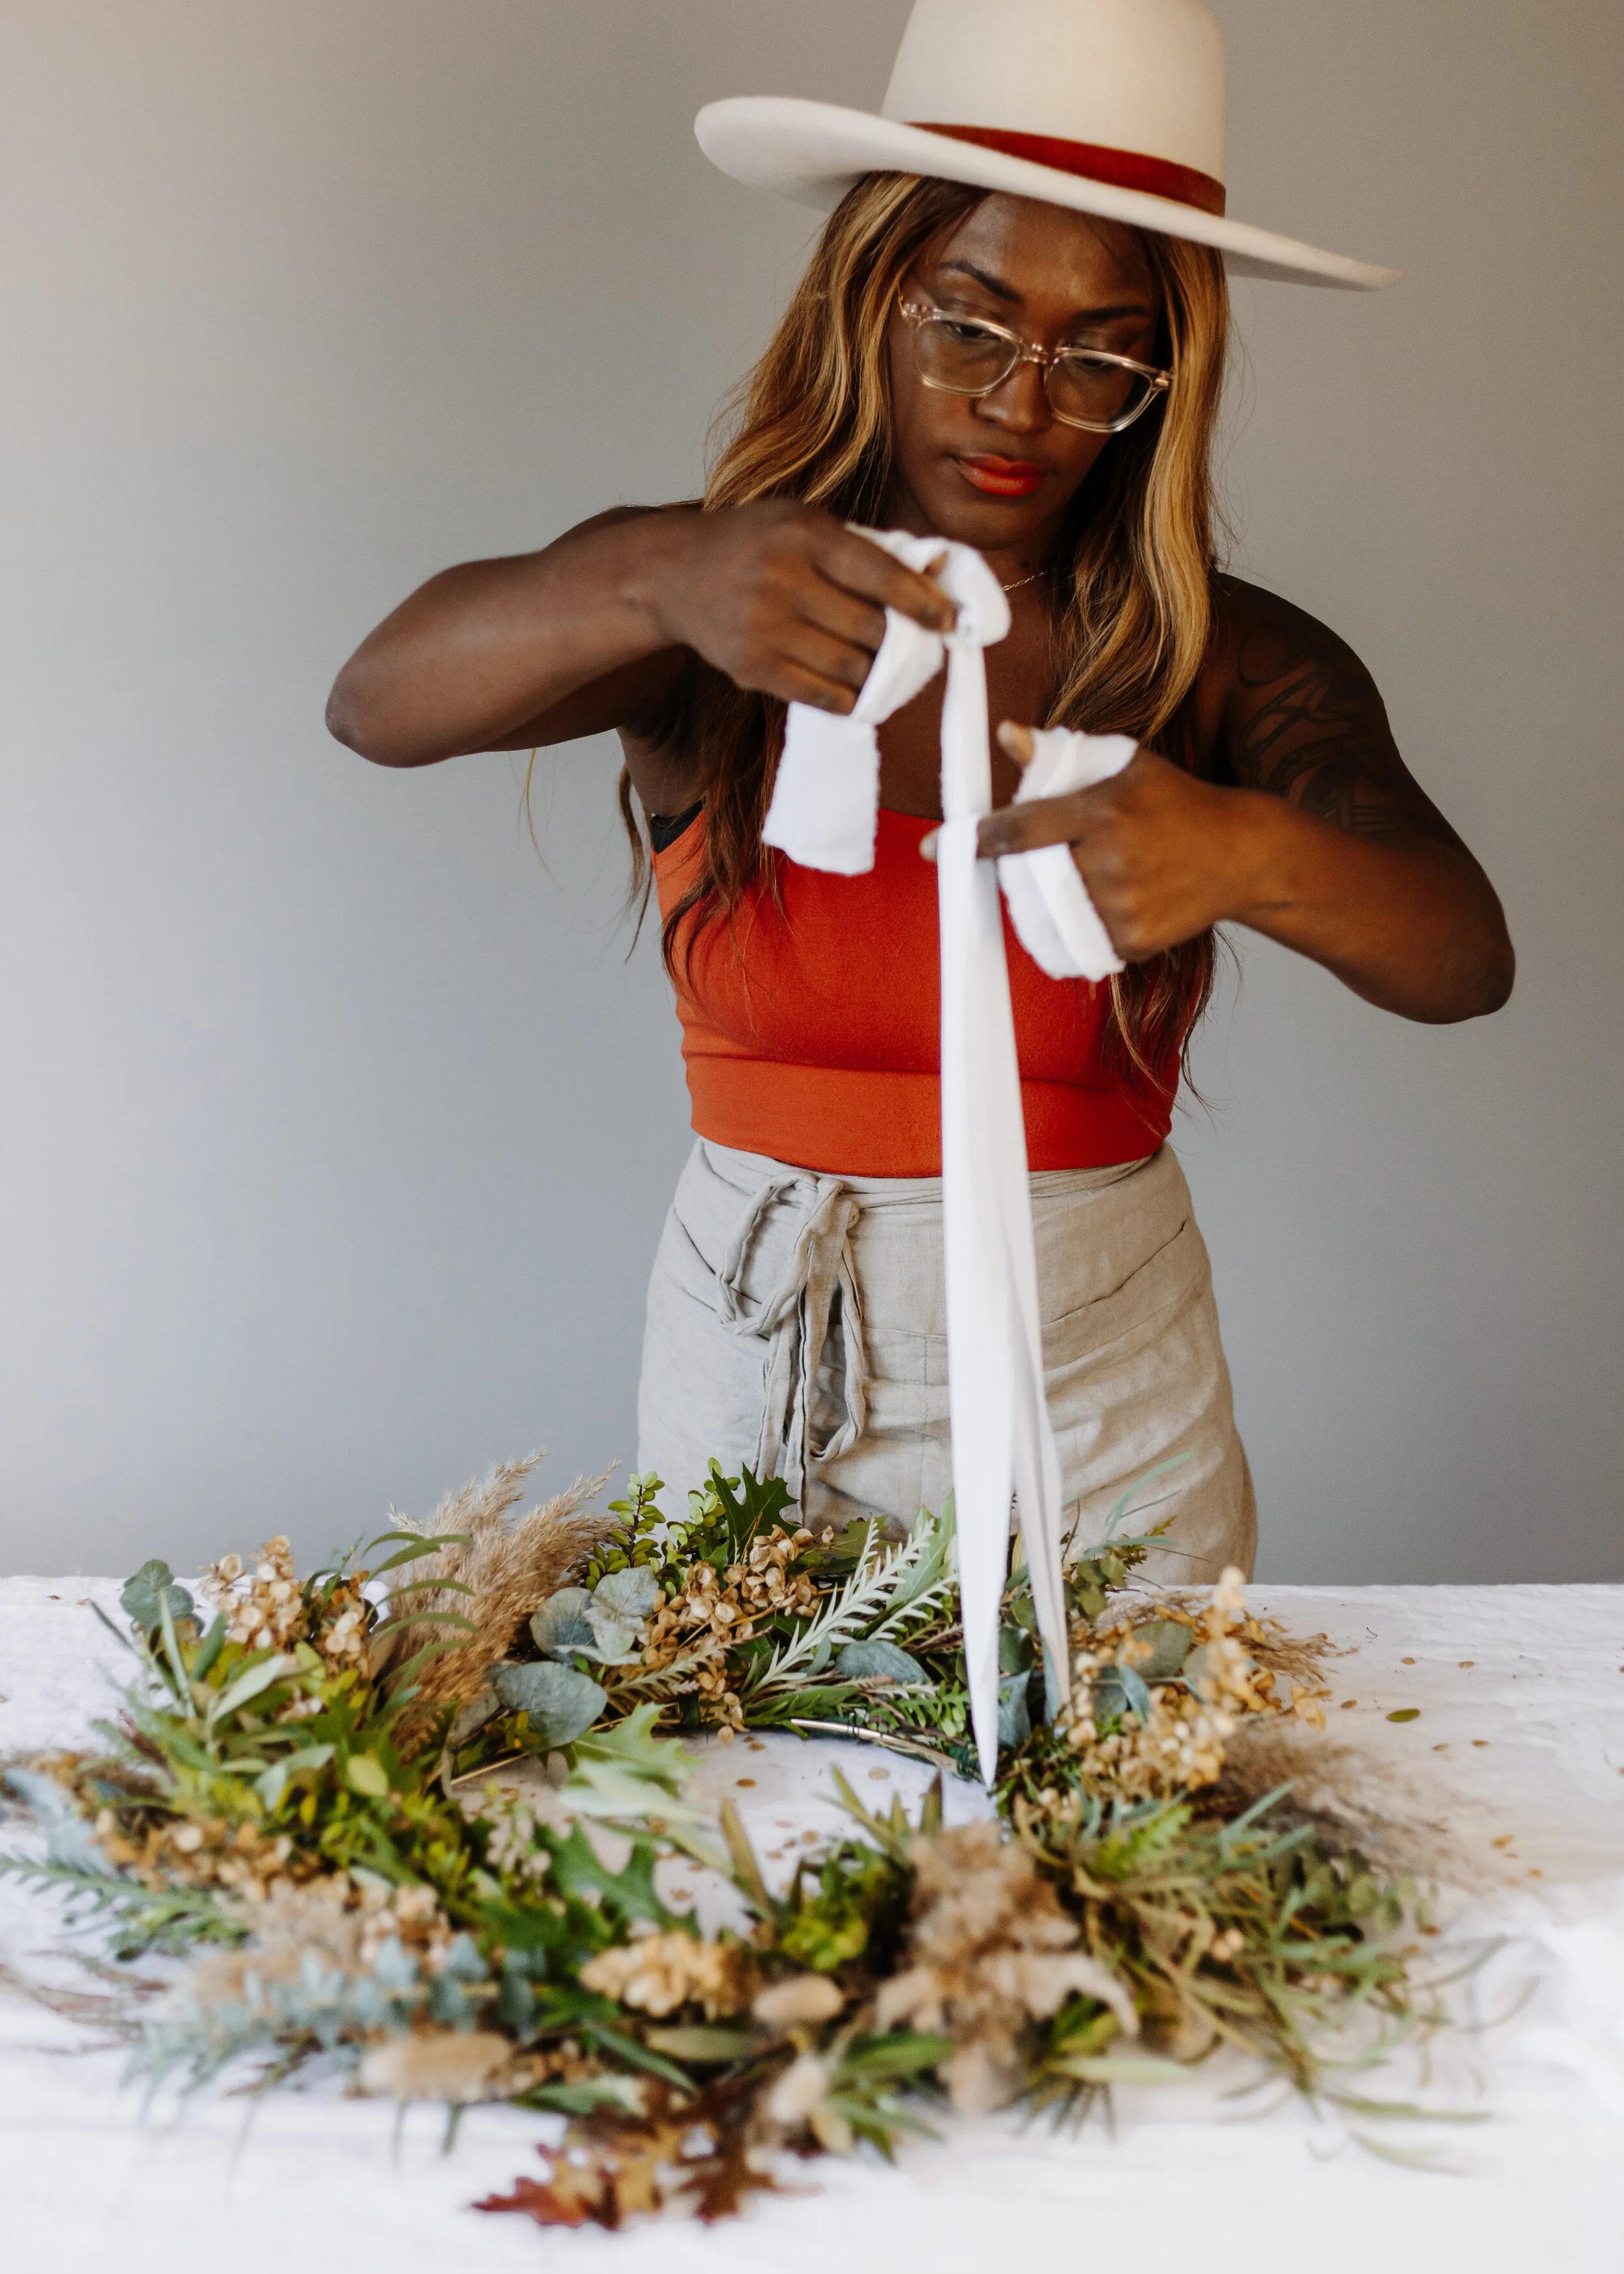
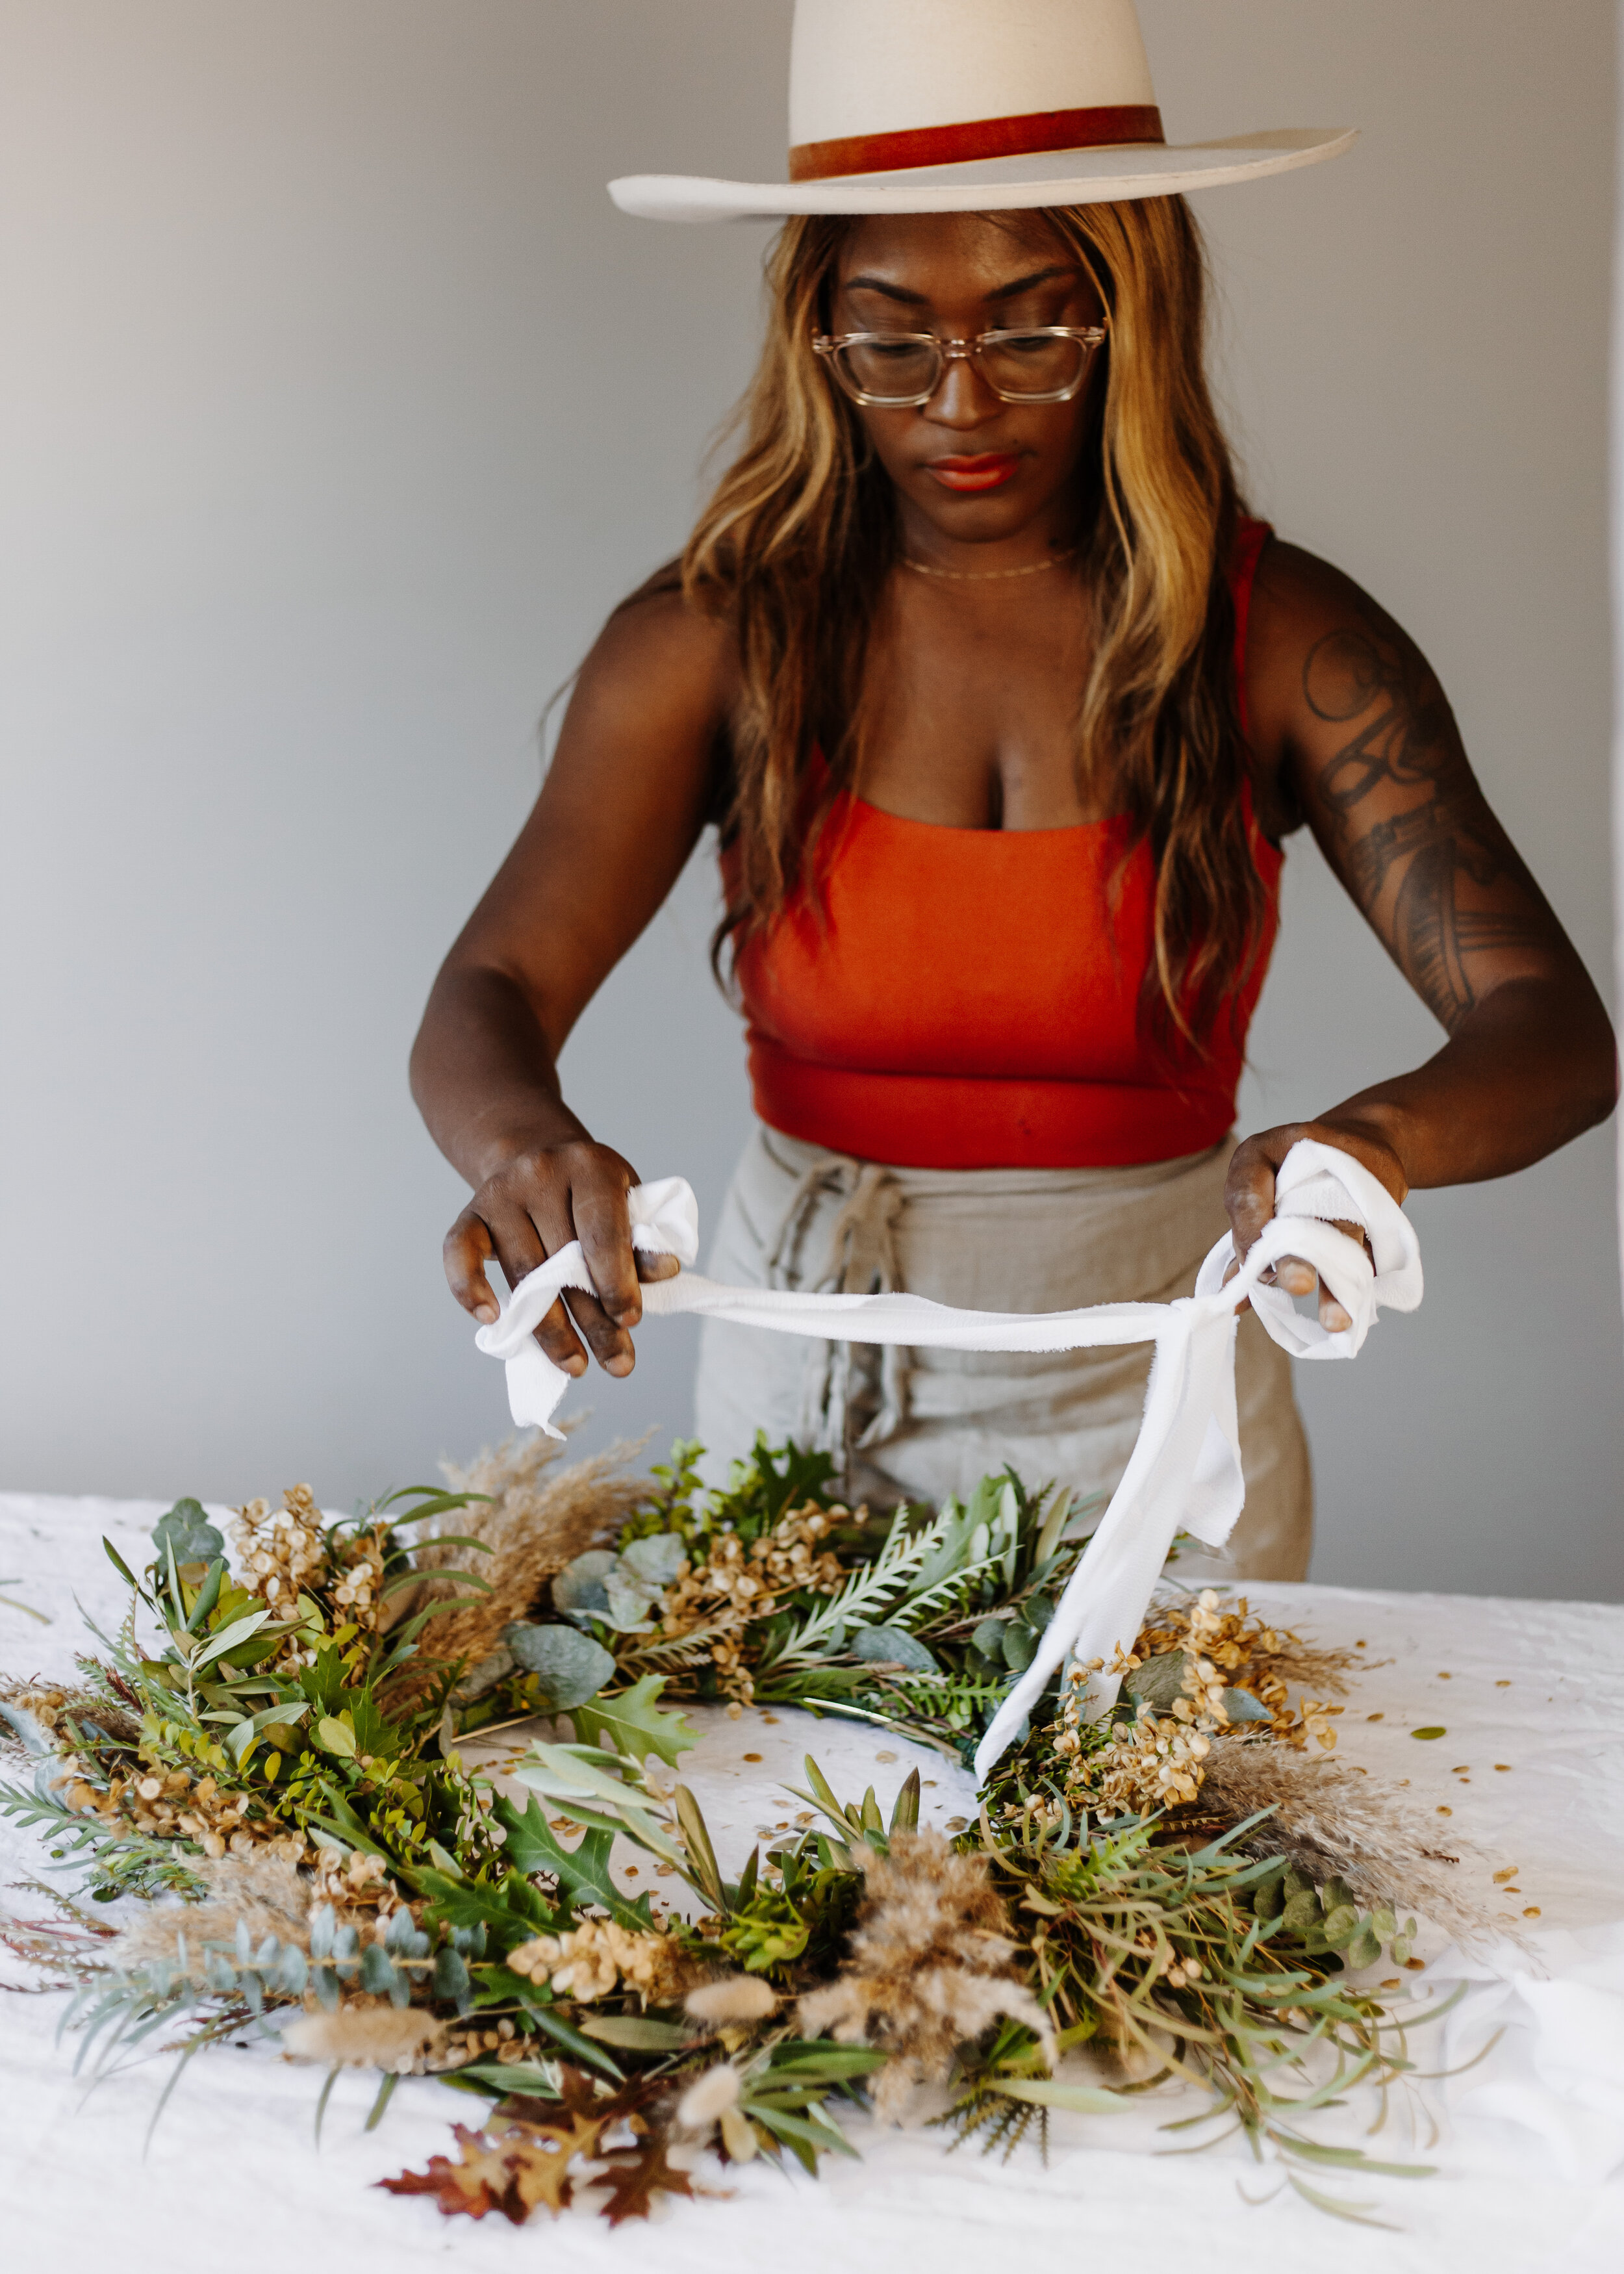
When your creation is done and you are happy, it’s time to add some ribbon. In your kit, you will have a white silk chiffon ribbon. You can place it at the bottom, top or asymmetrically like I did to add some flair.
Voilà!
Don’t forget to have fun and take tons of pictures of your beautiful arrangements. Tag @fleurichcreations on social media when you do. Happy wreath-making!